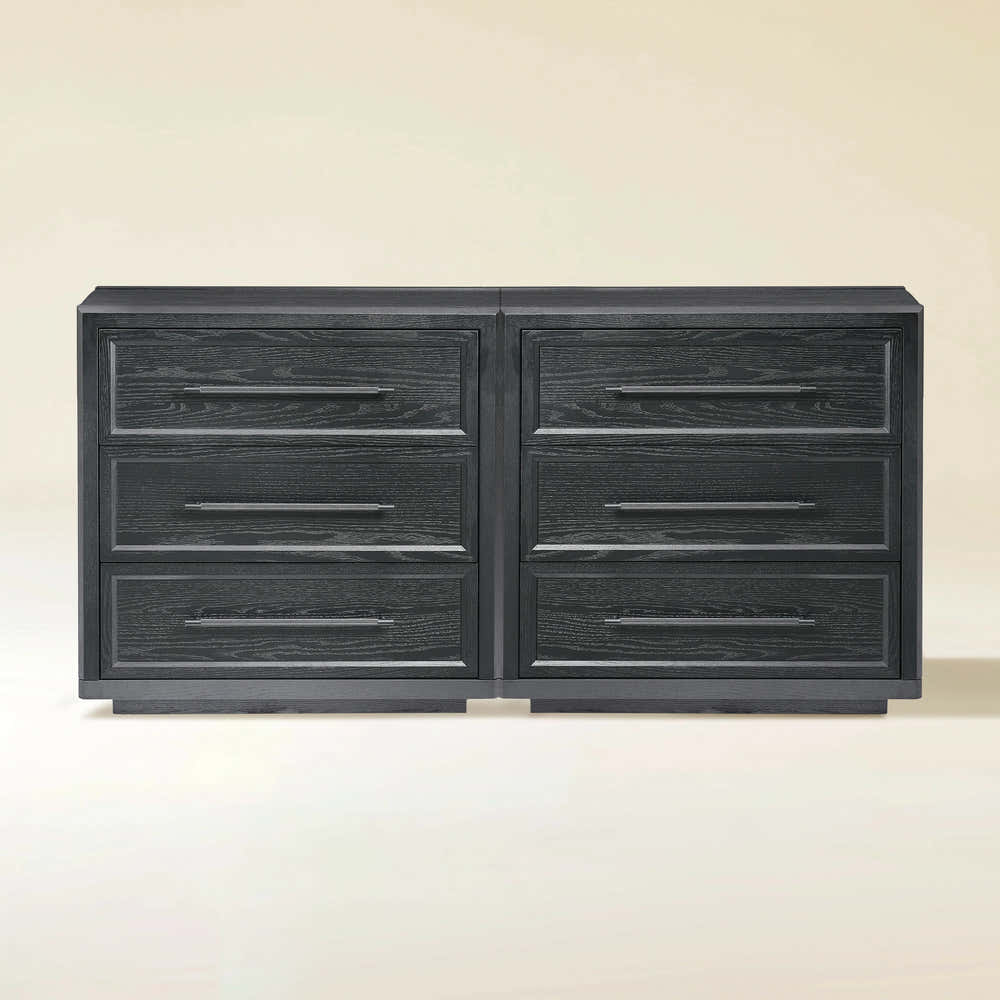
Alvar 61″ Oak 6-Drawer Chest(Set of 2)


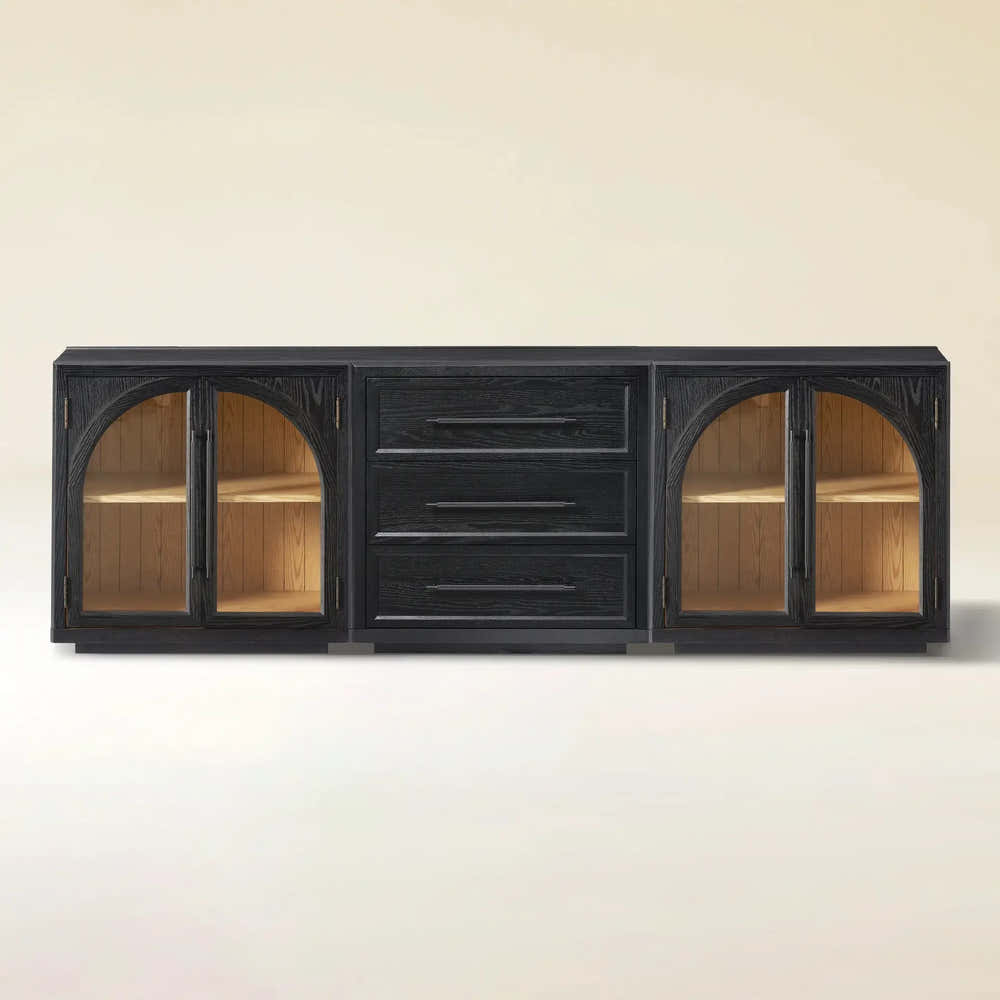
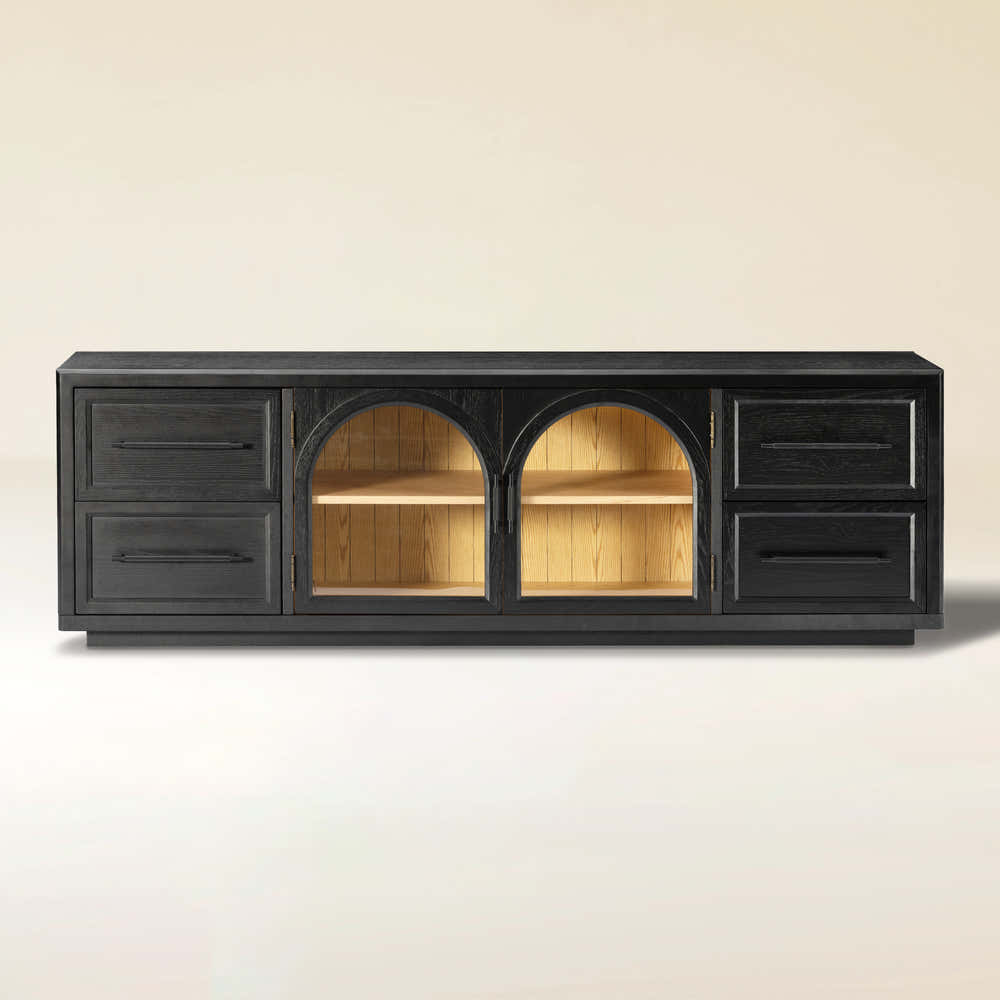
Alvar Arched 61" Oak Sideboard with Drawers(Set of 2)
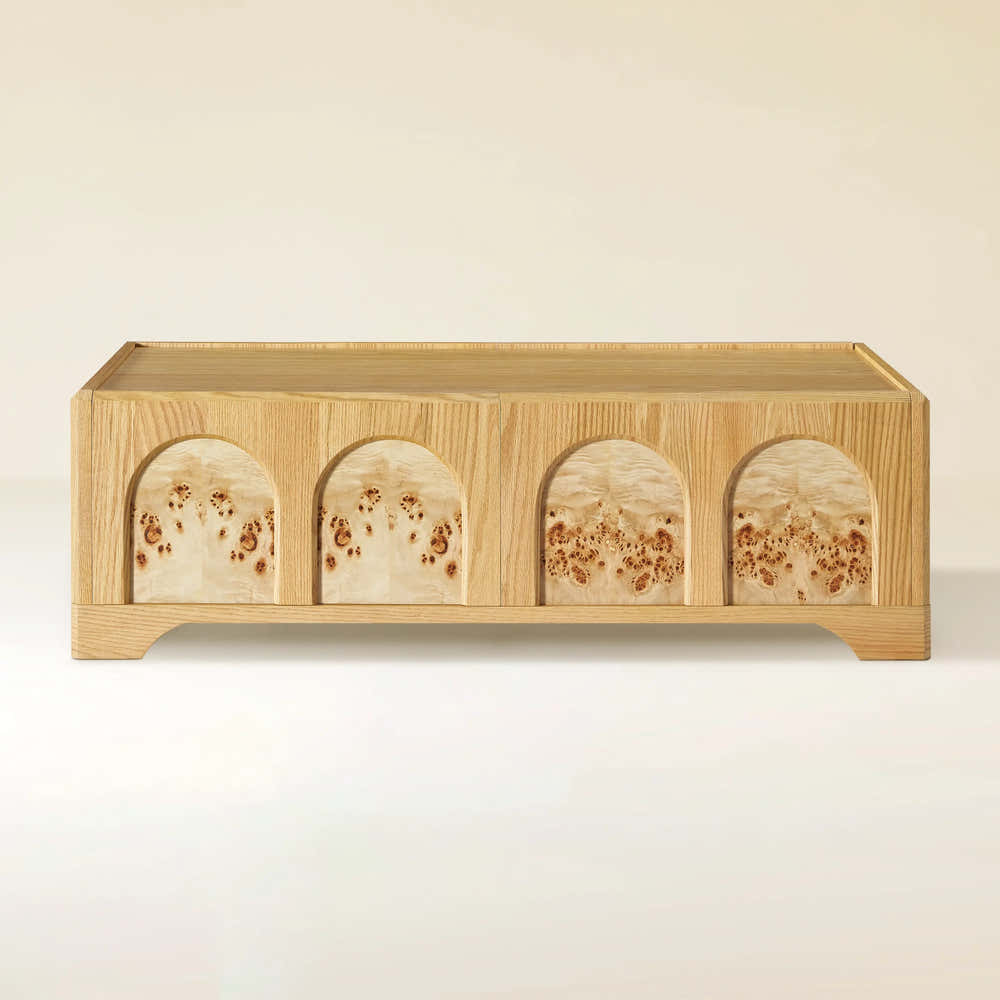
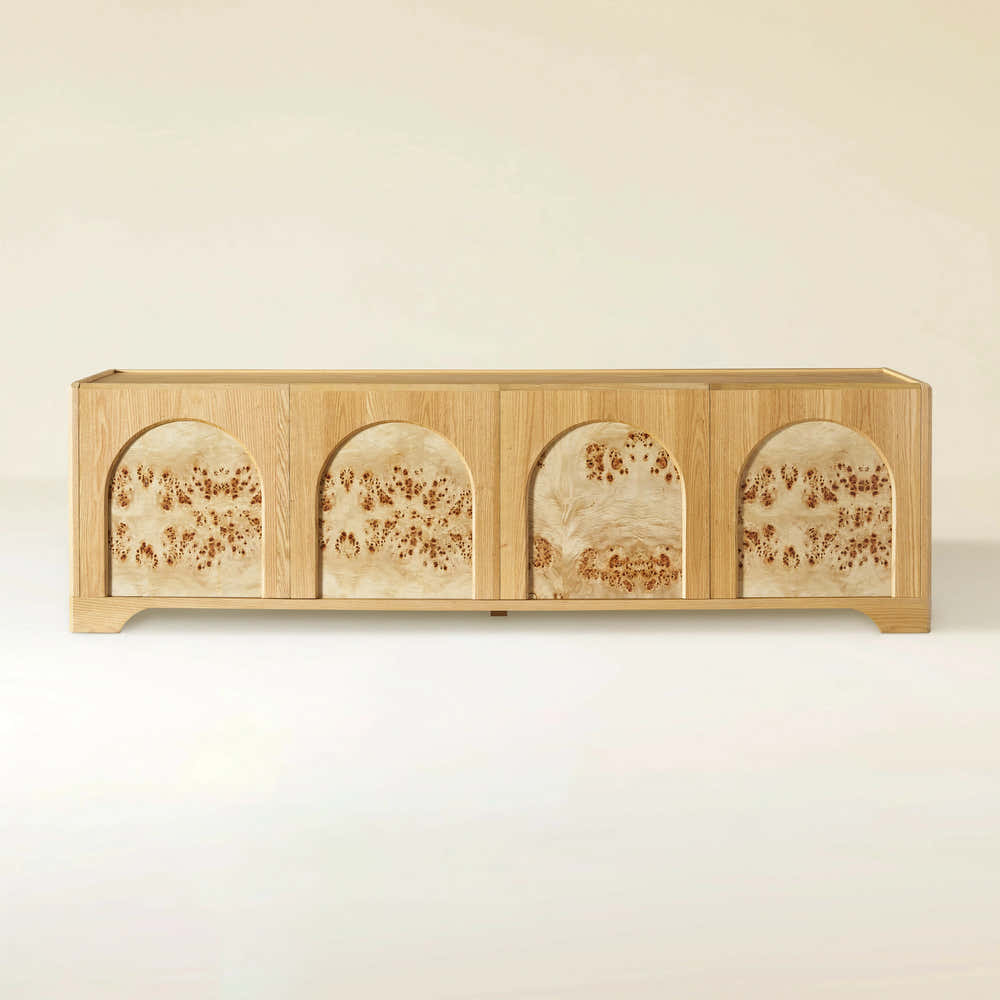
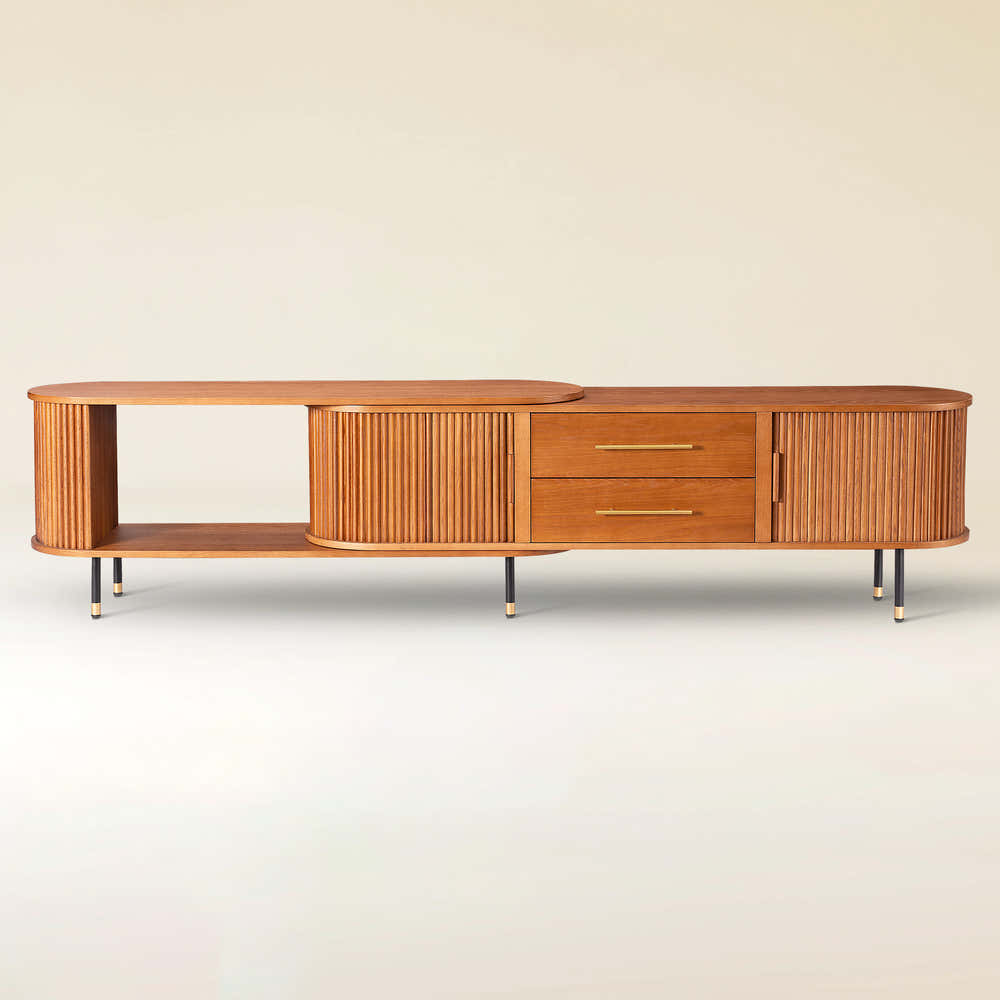
Alvar Arched 91″ Oak Modular Media Console(Set of 3)
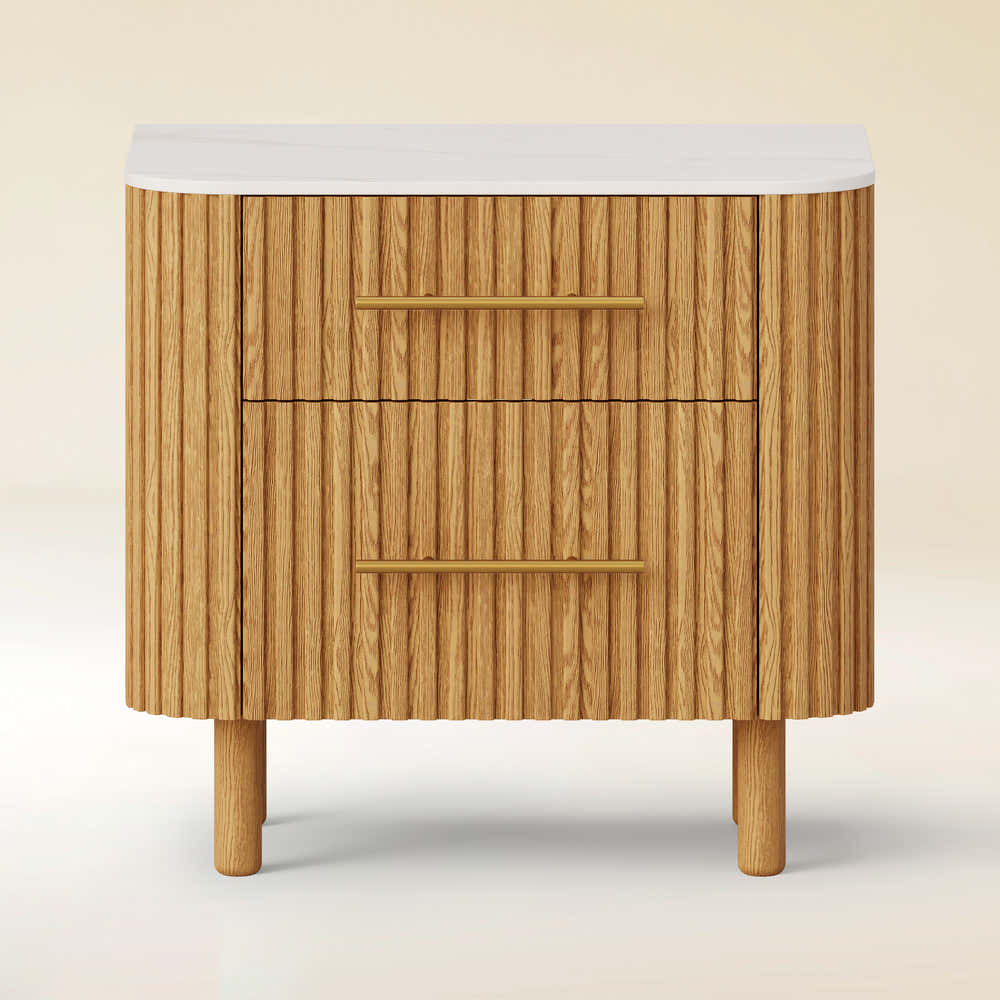
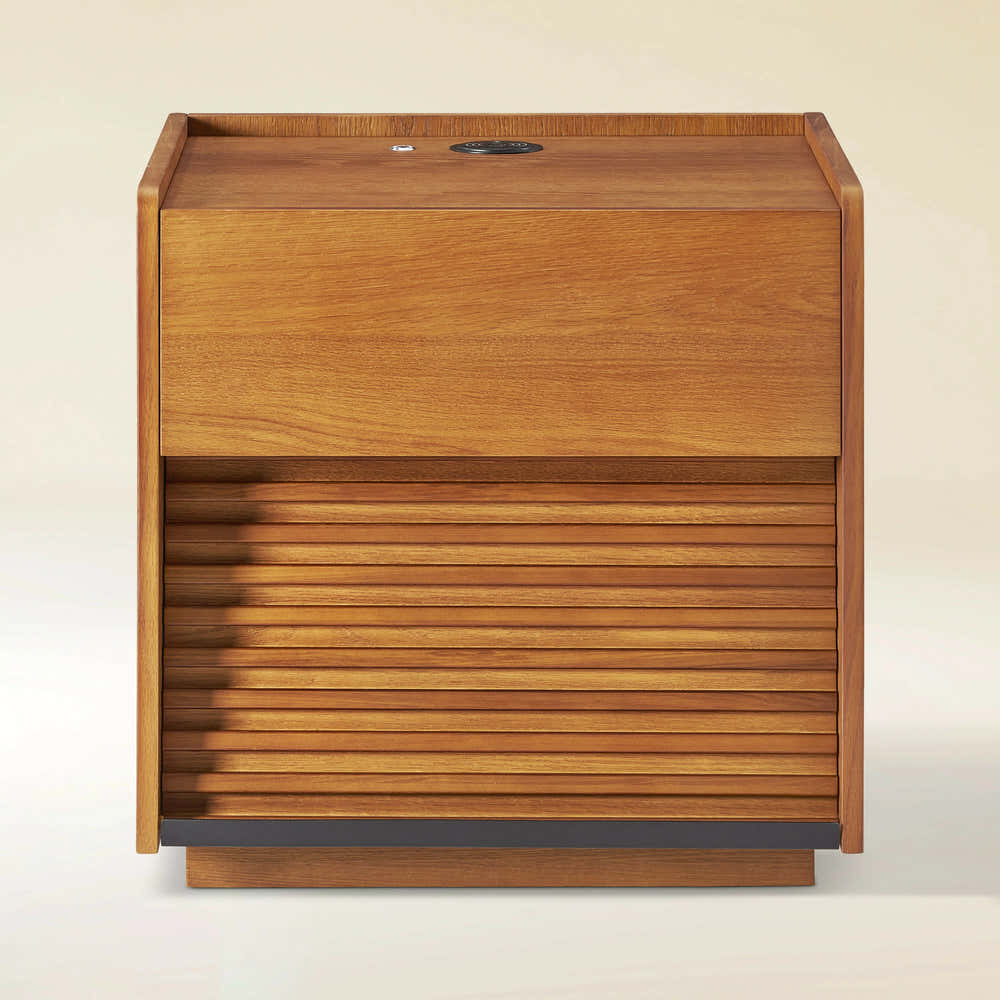
Charlie Sintered Stone Nightstand 26" W

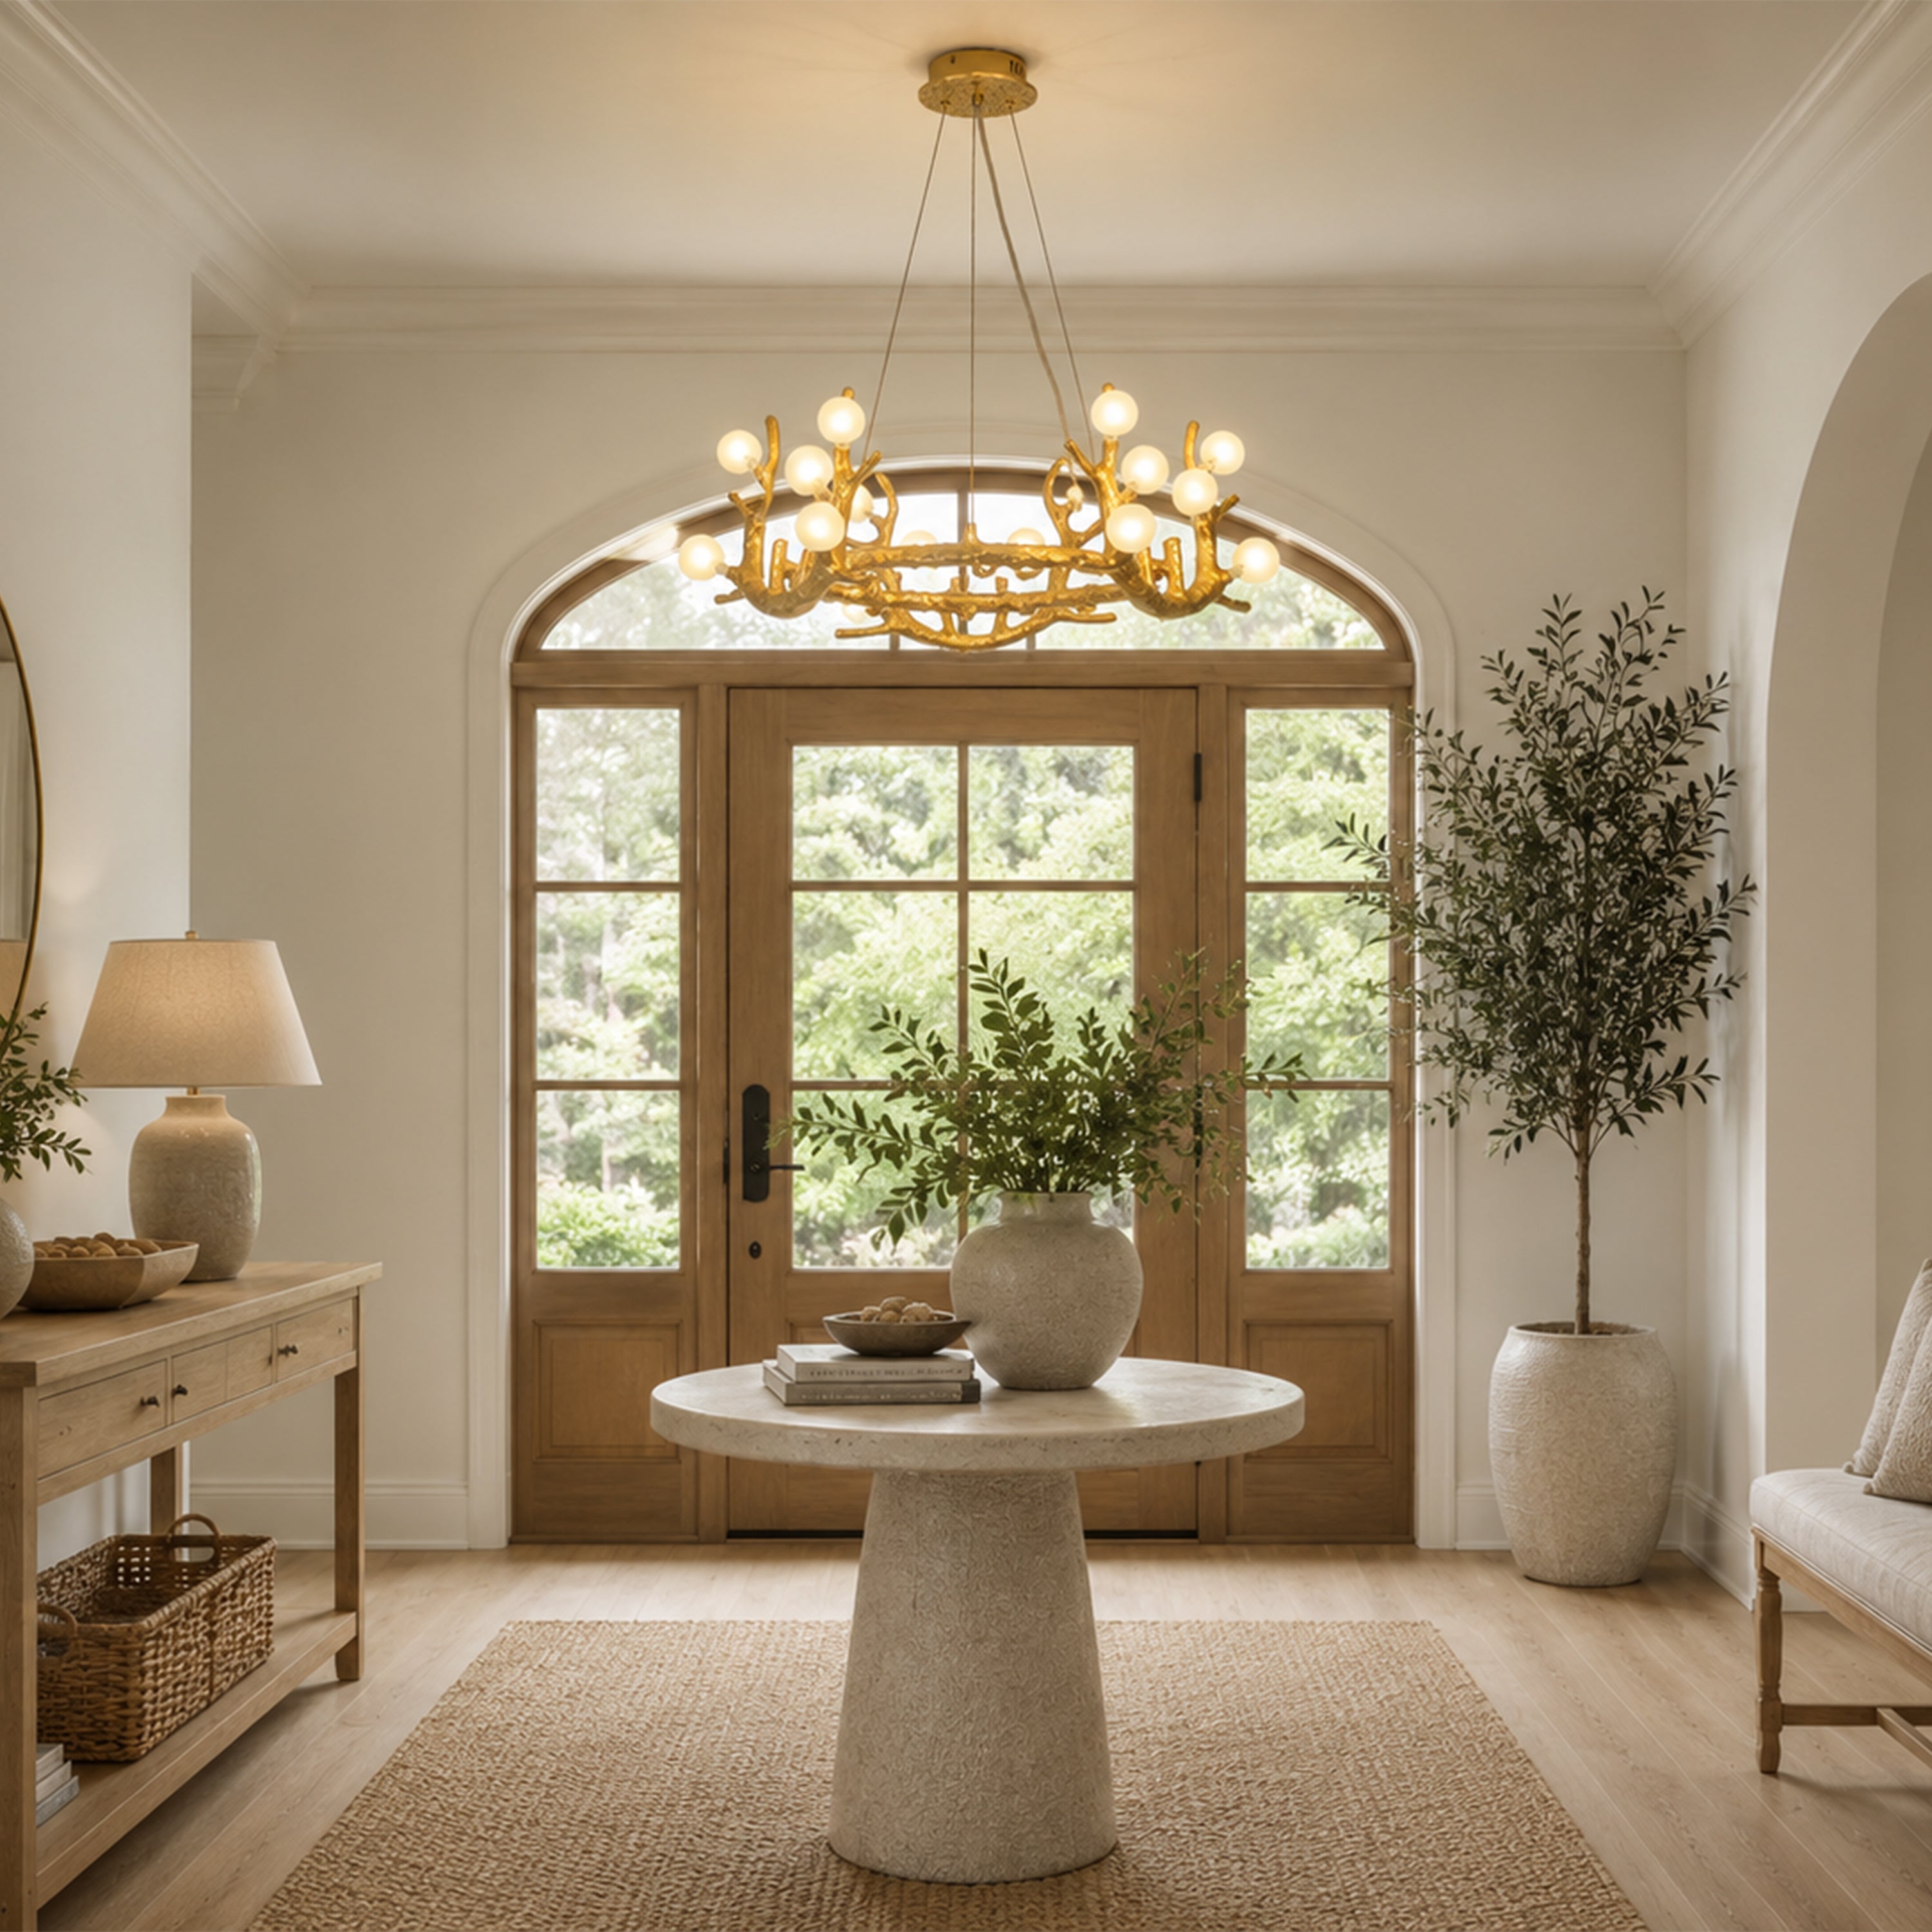
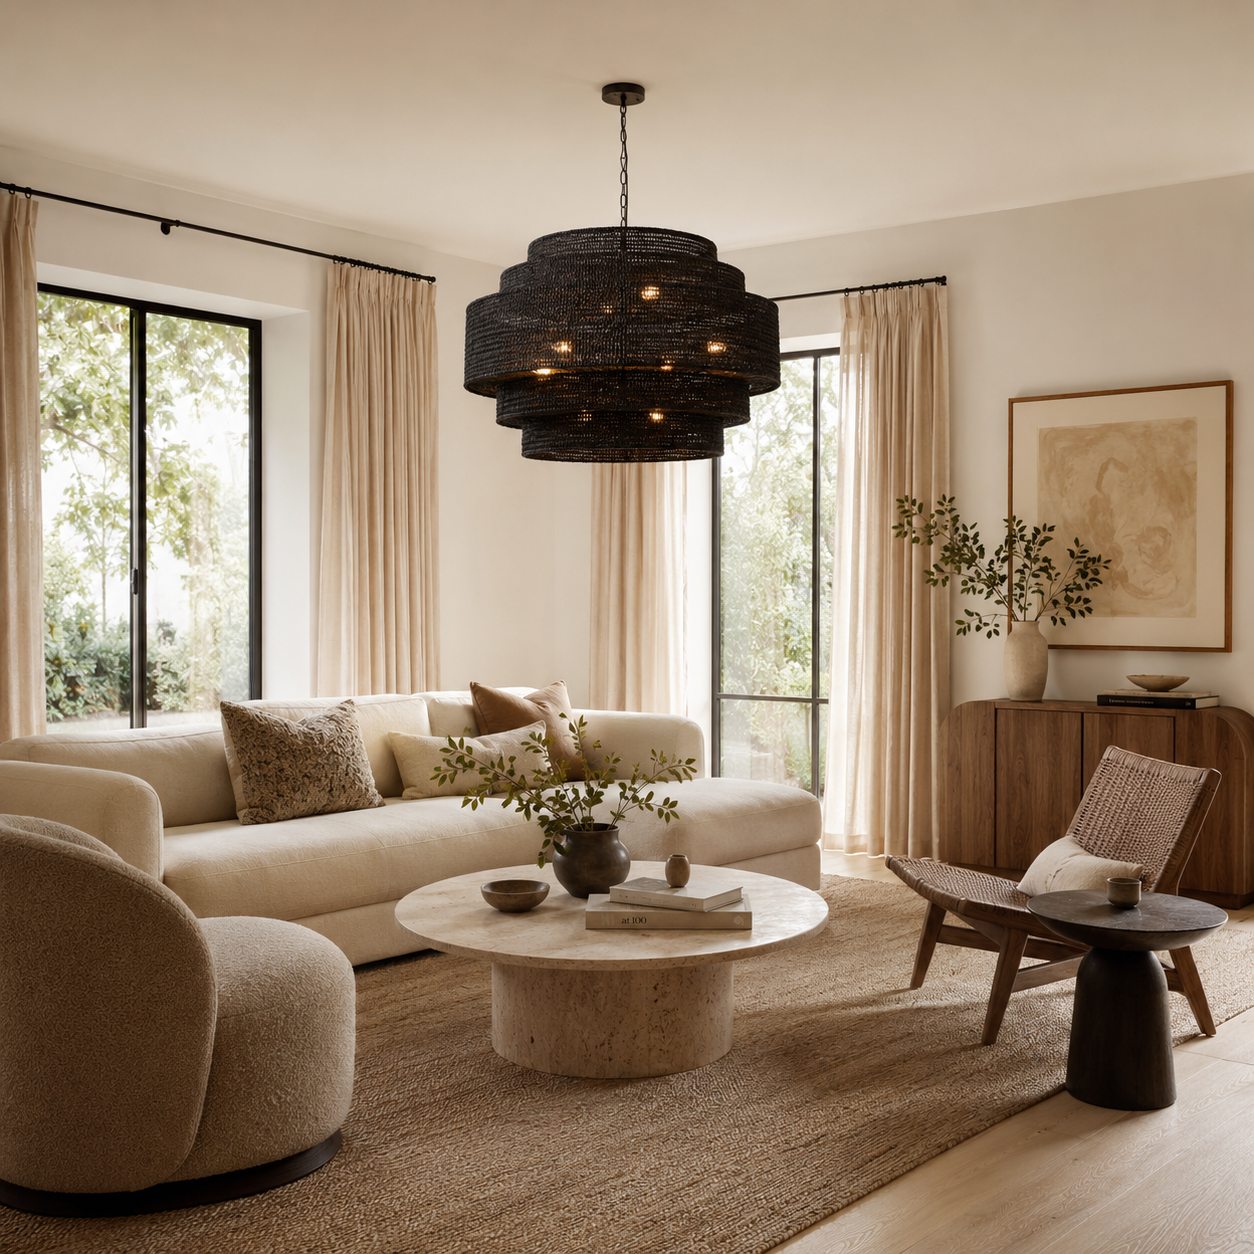
Ethereal Crystal Radiance Round Chandelier 30"D


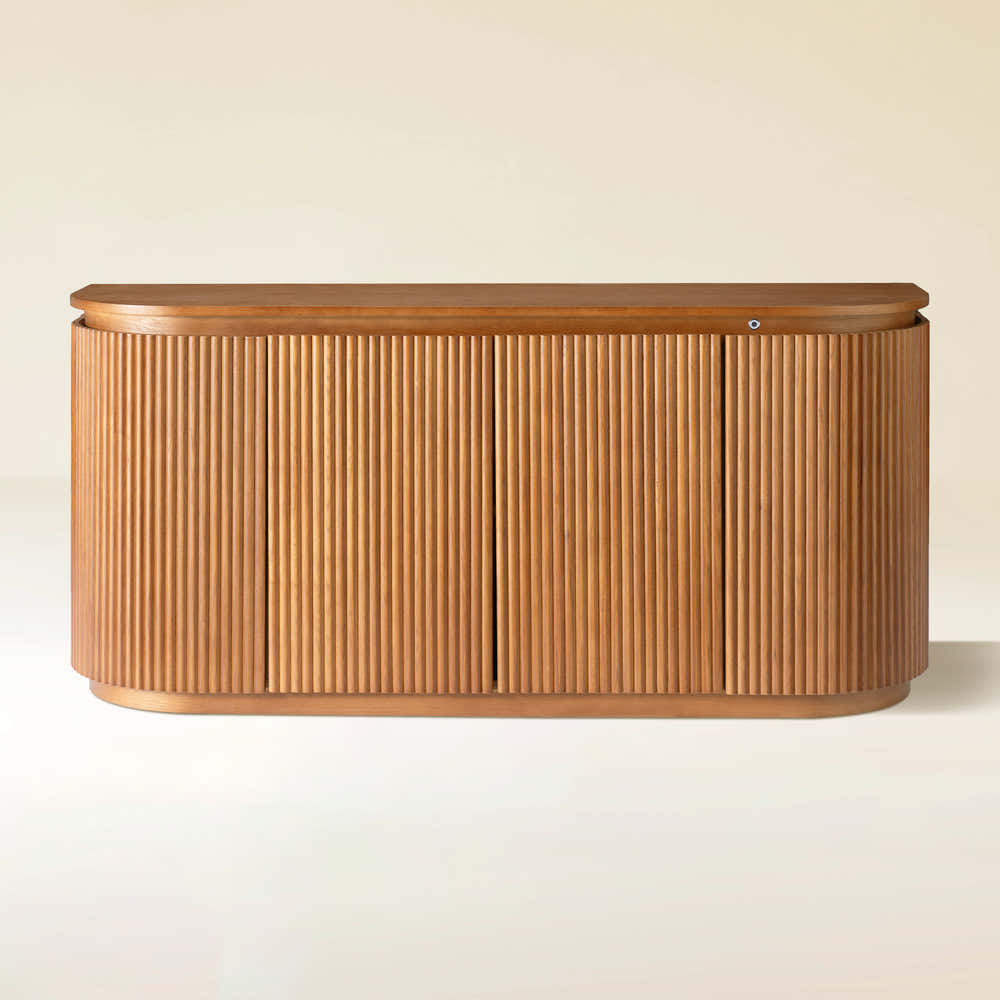
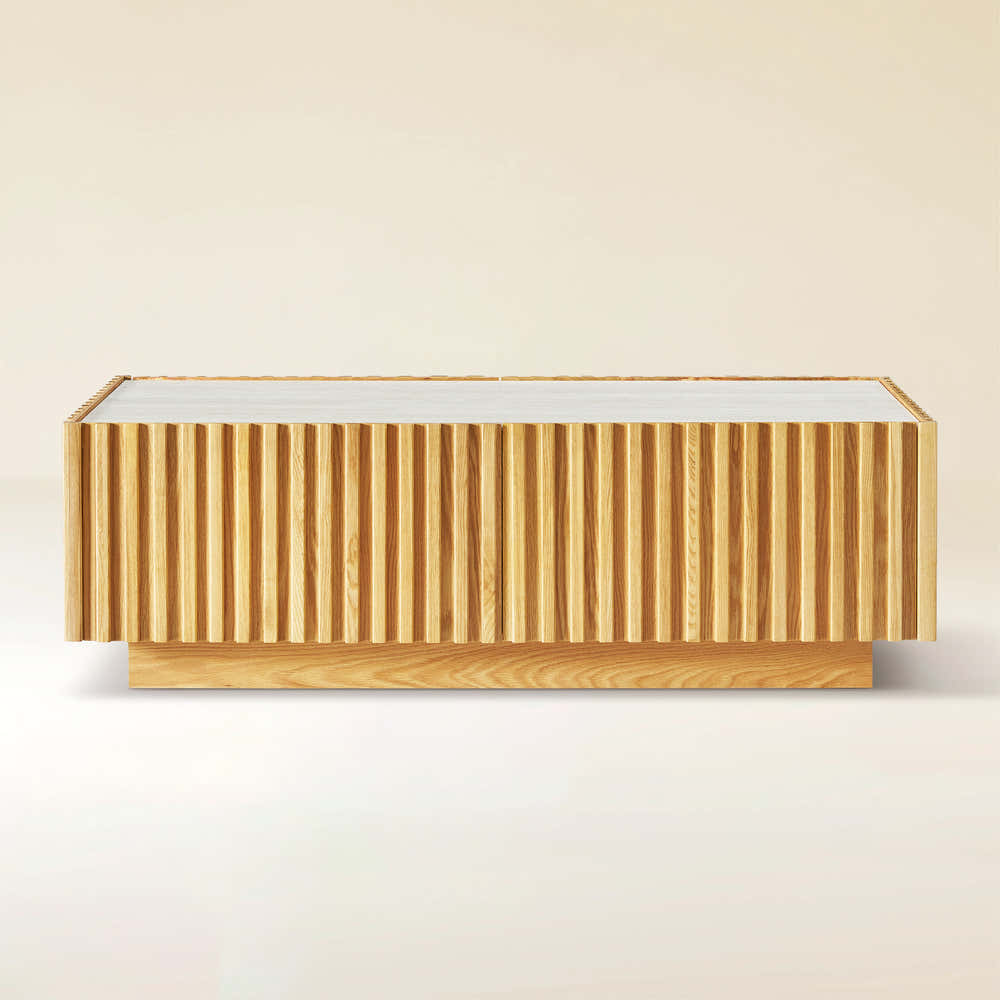
Ewan 63" Oak Slatted Sideboard Buffet Cabinet
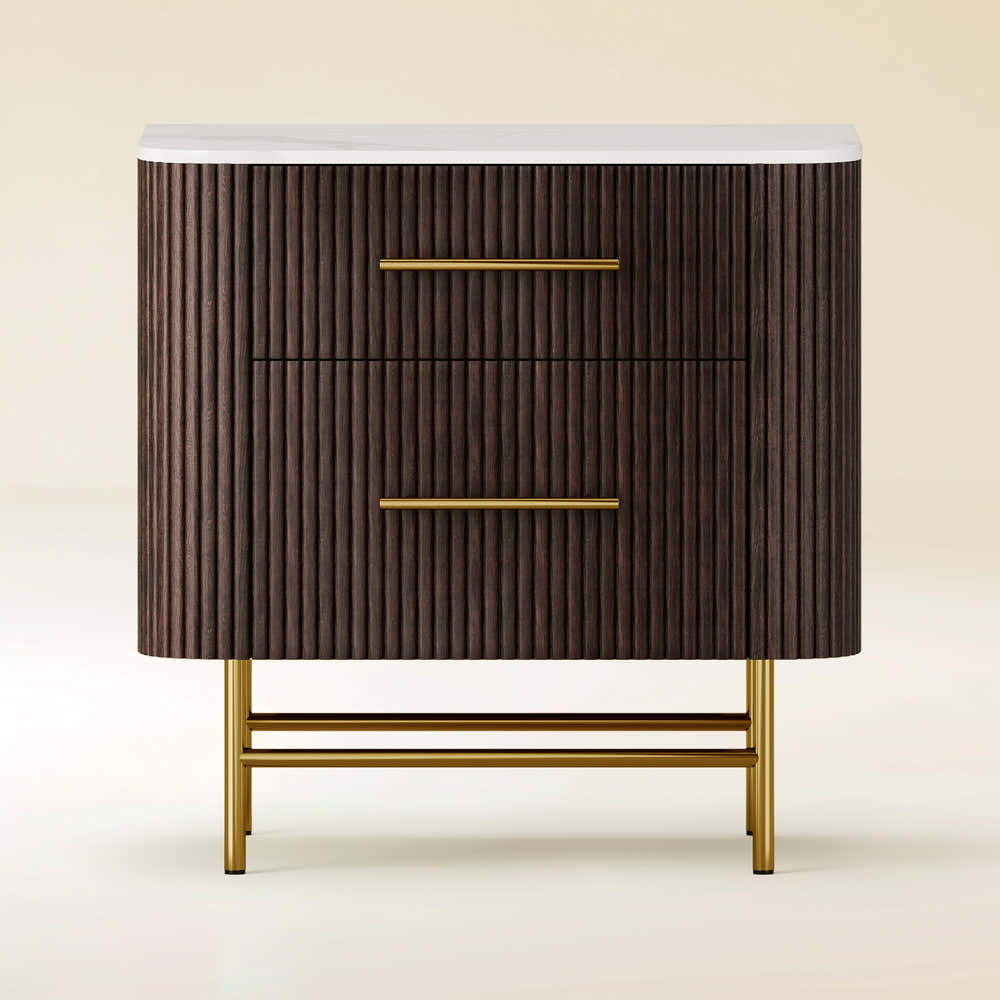
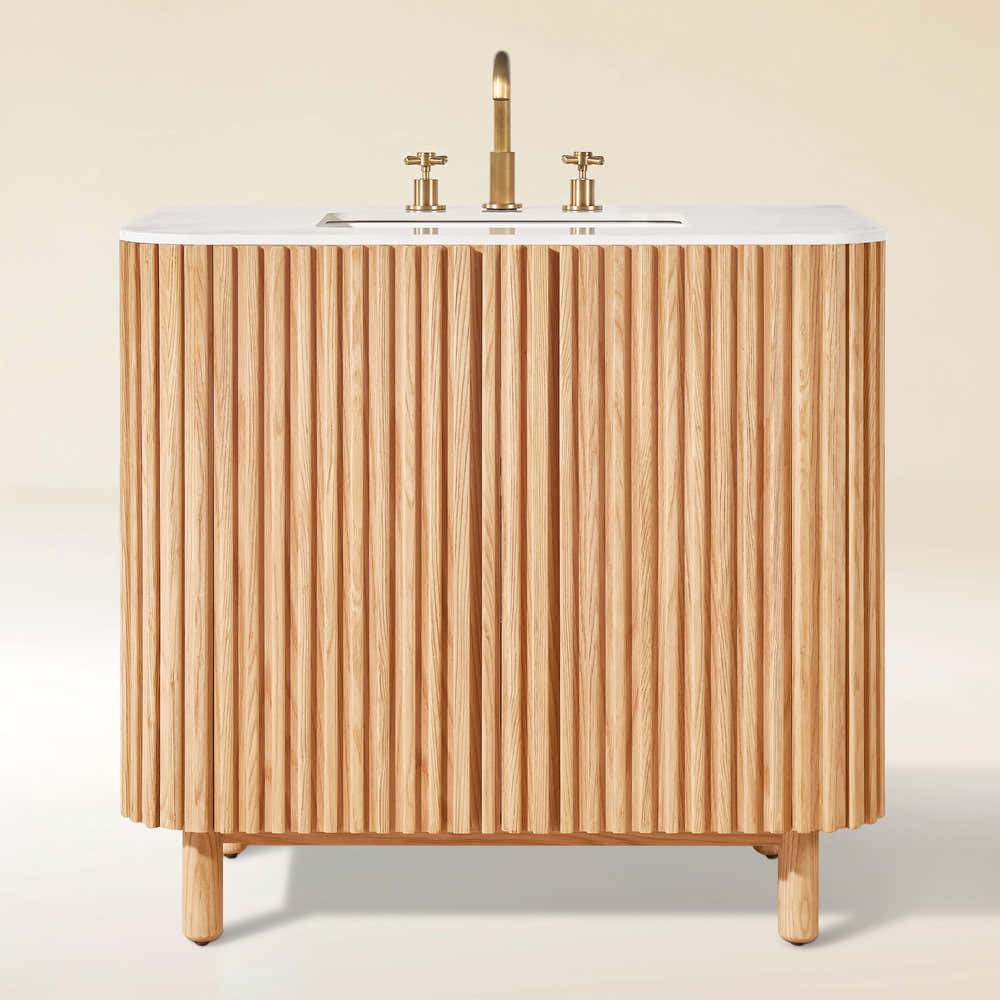
Ewan Sintered Stone Nightstand 26"W
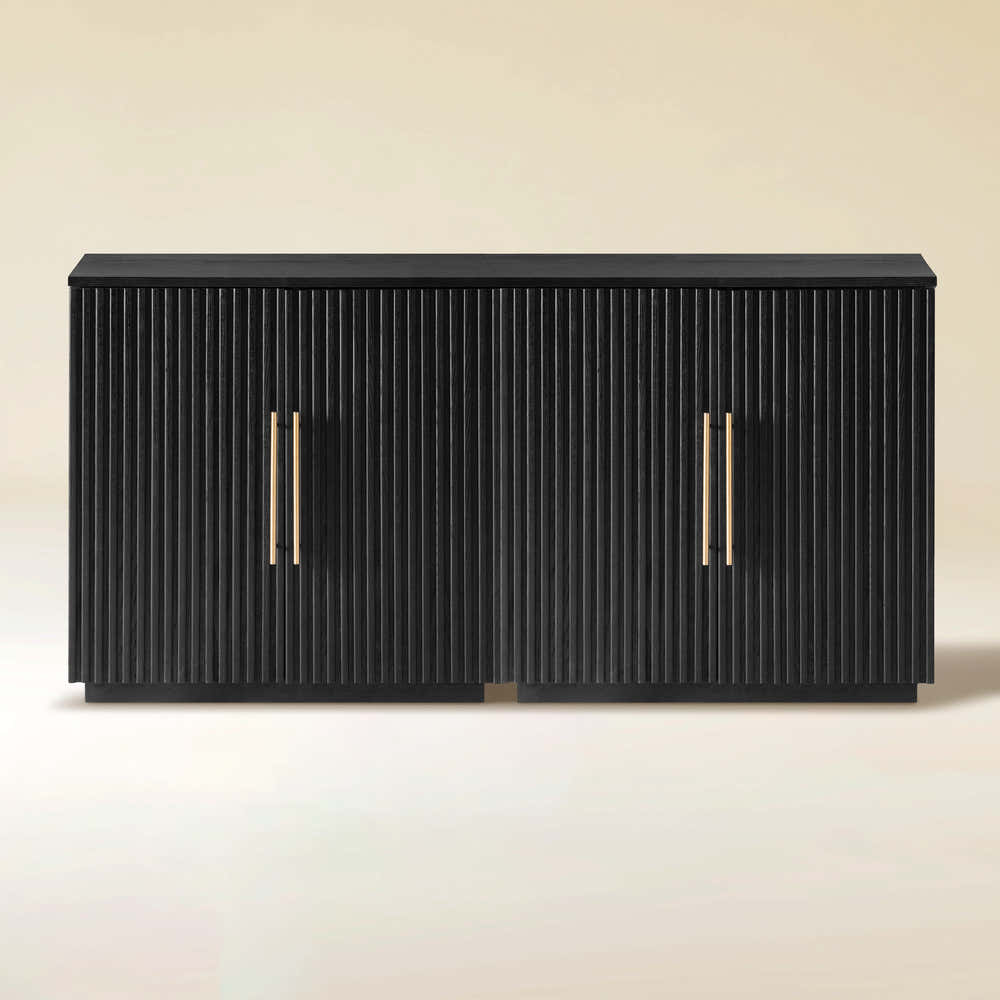
Holt 63″ Solid Oak Console(Set of 2)
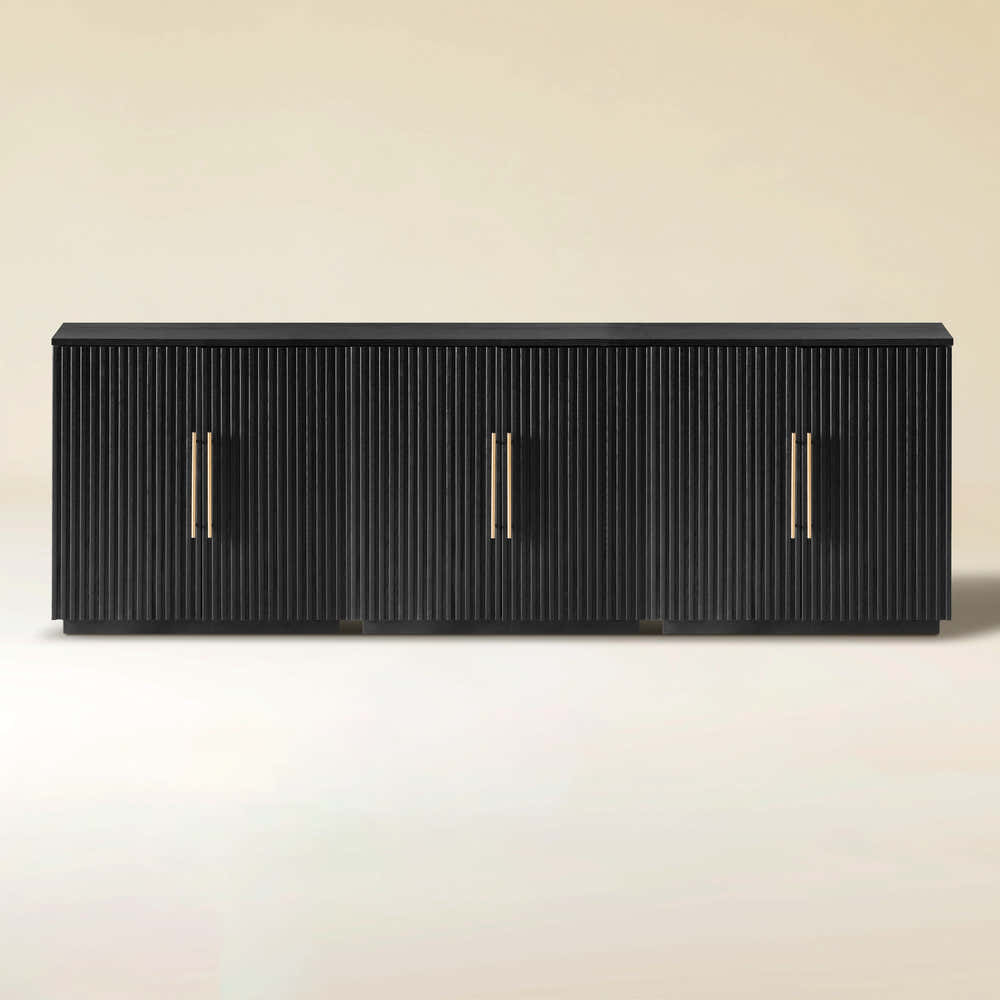
Holt 95″ Solid Oak Console(Set of 3)
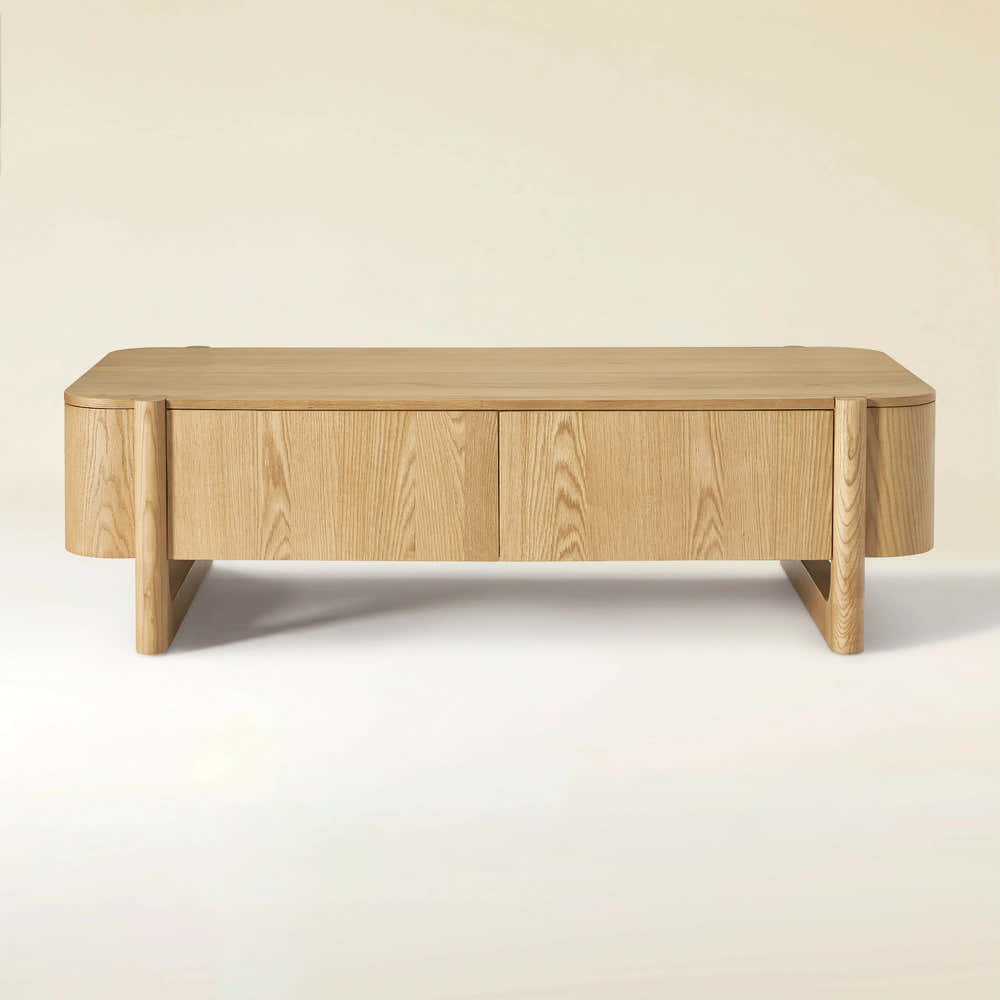
Isla Oak Sintered Stone Rectangle Coffee Table 120cm
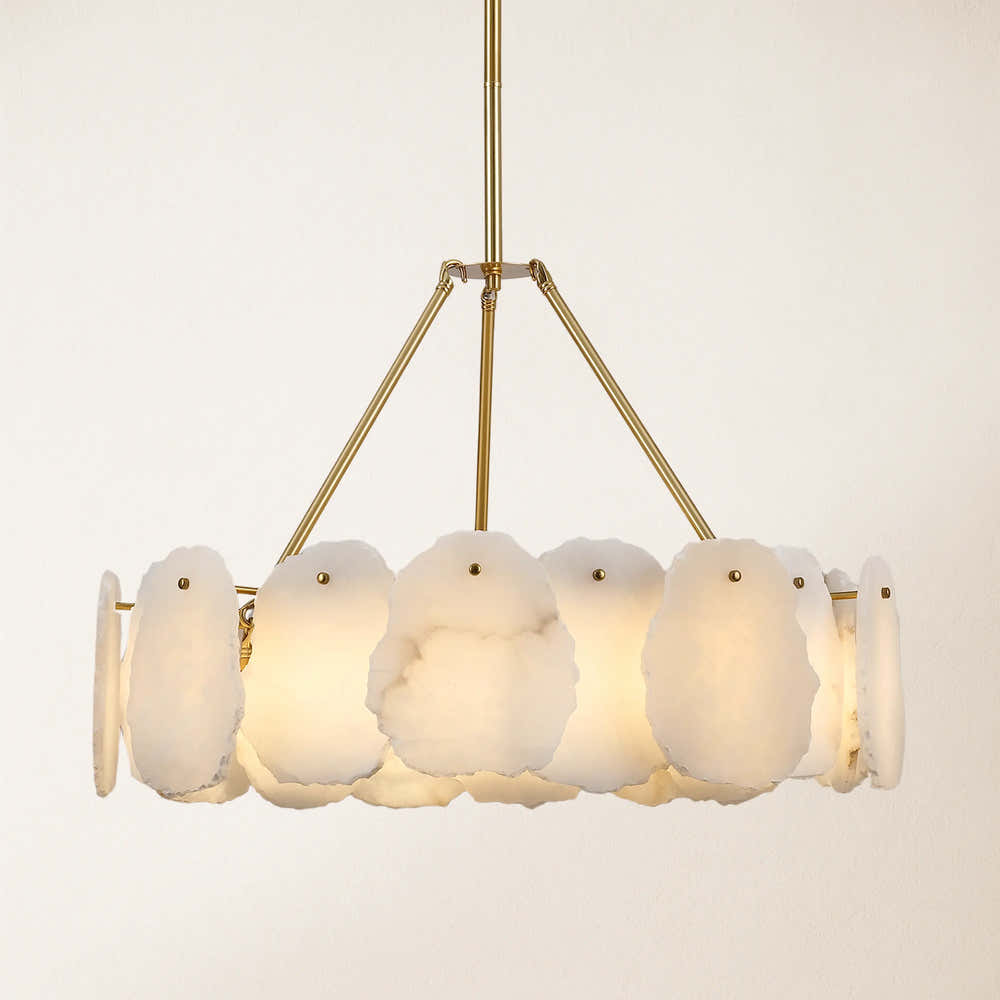
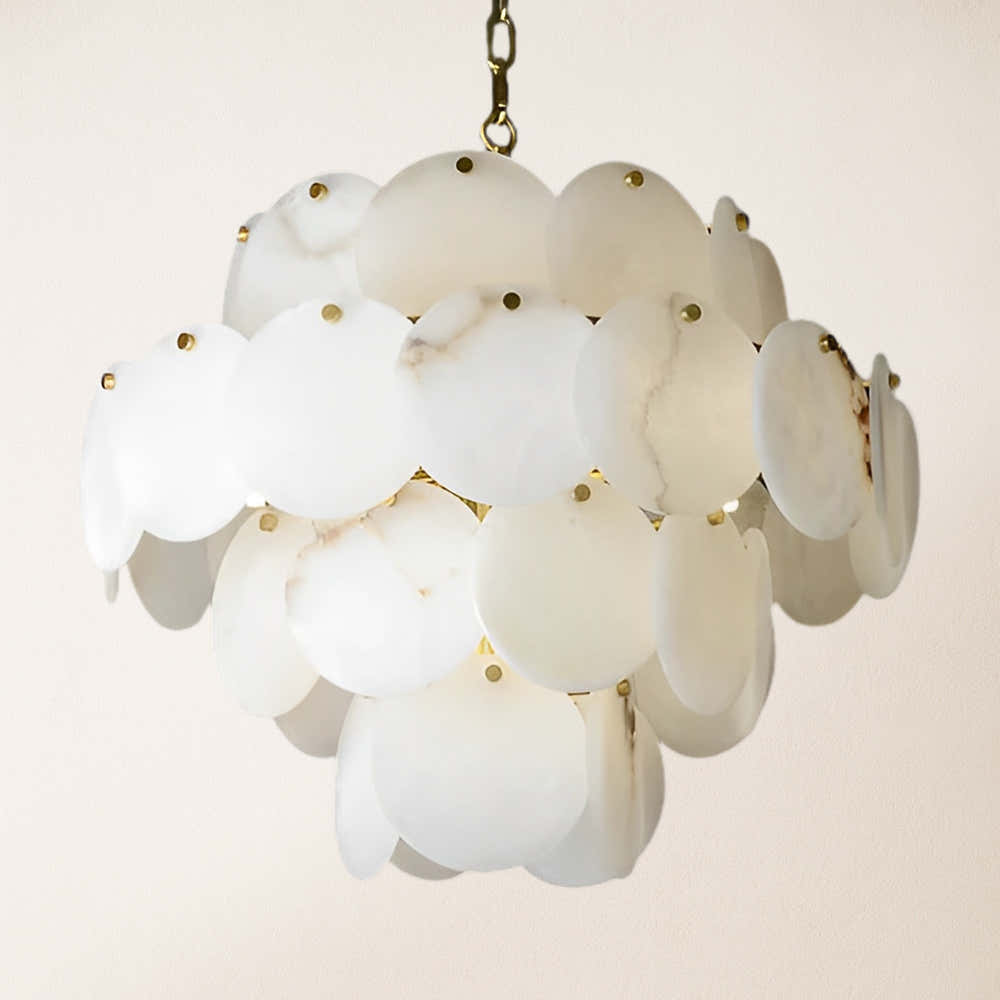
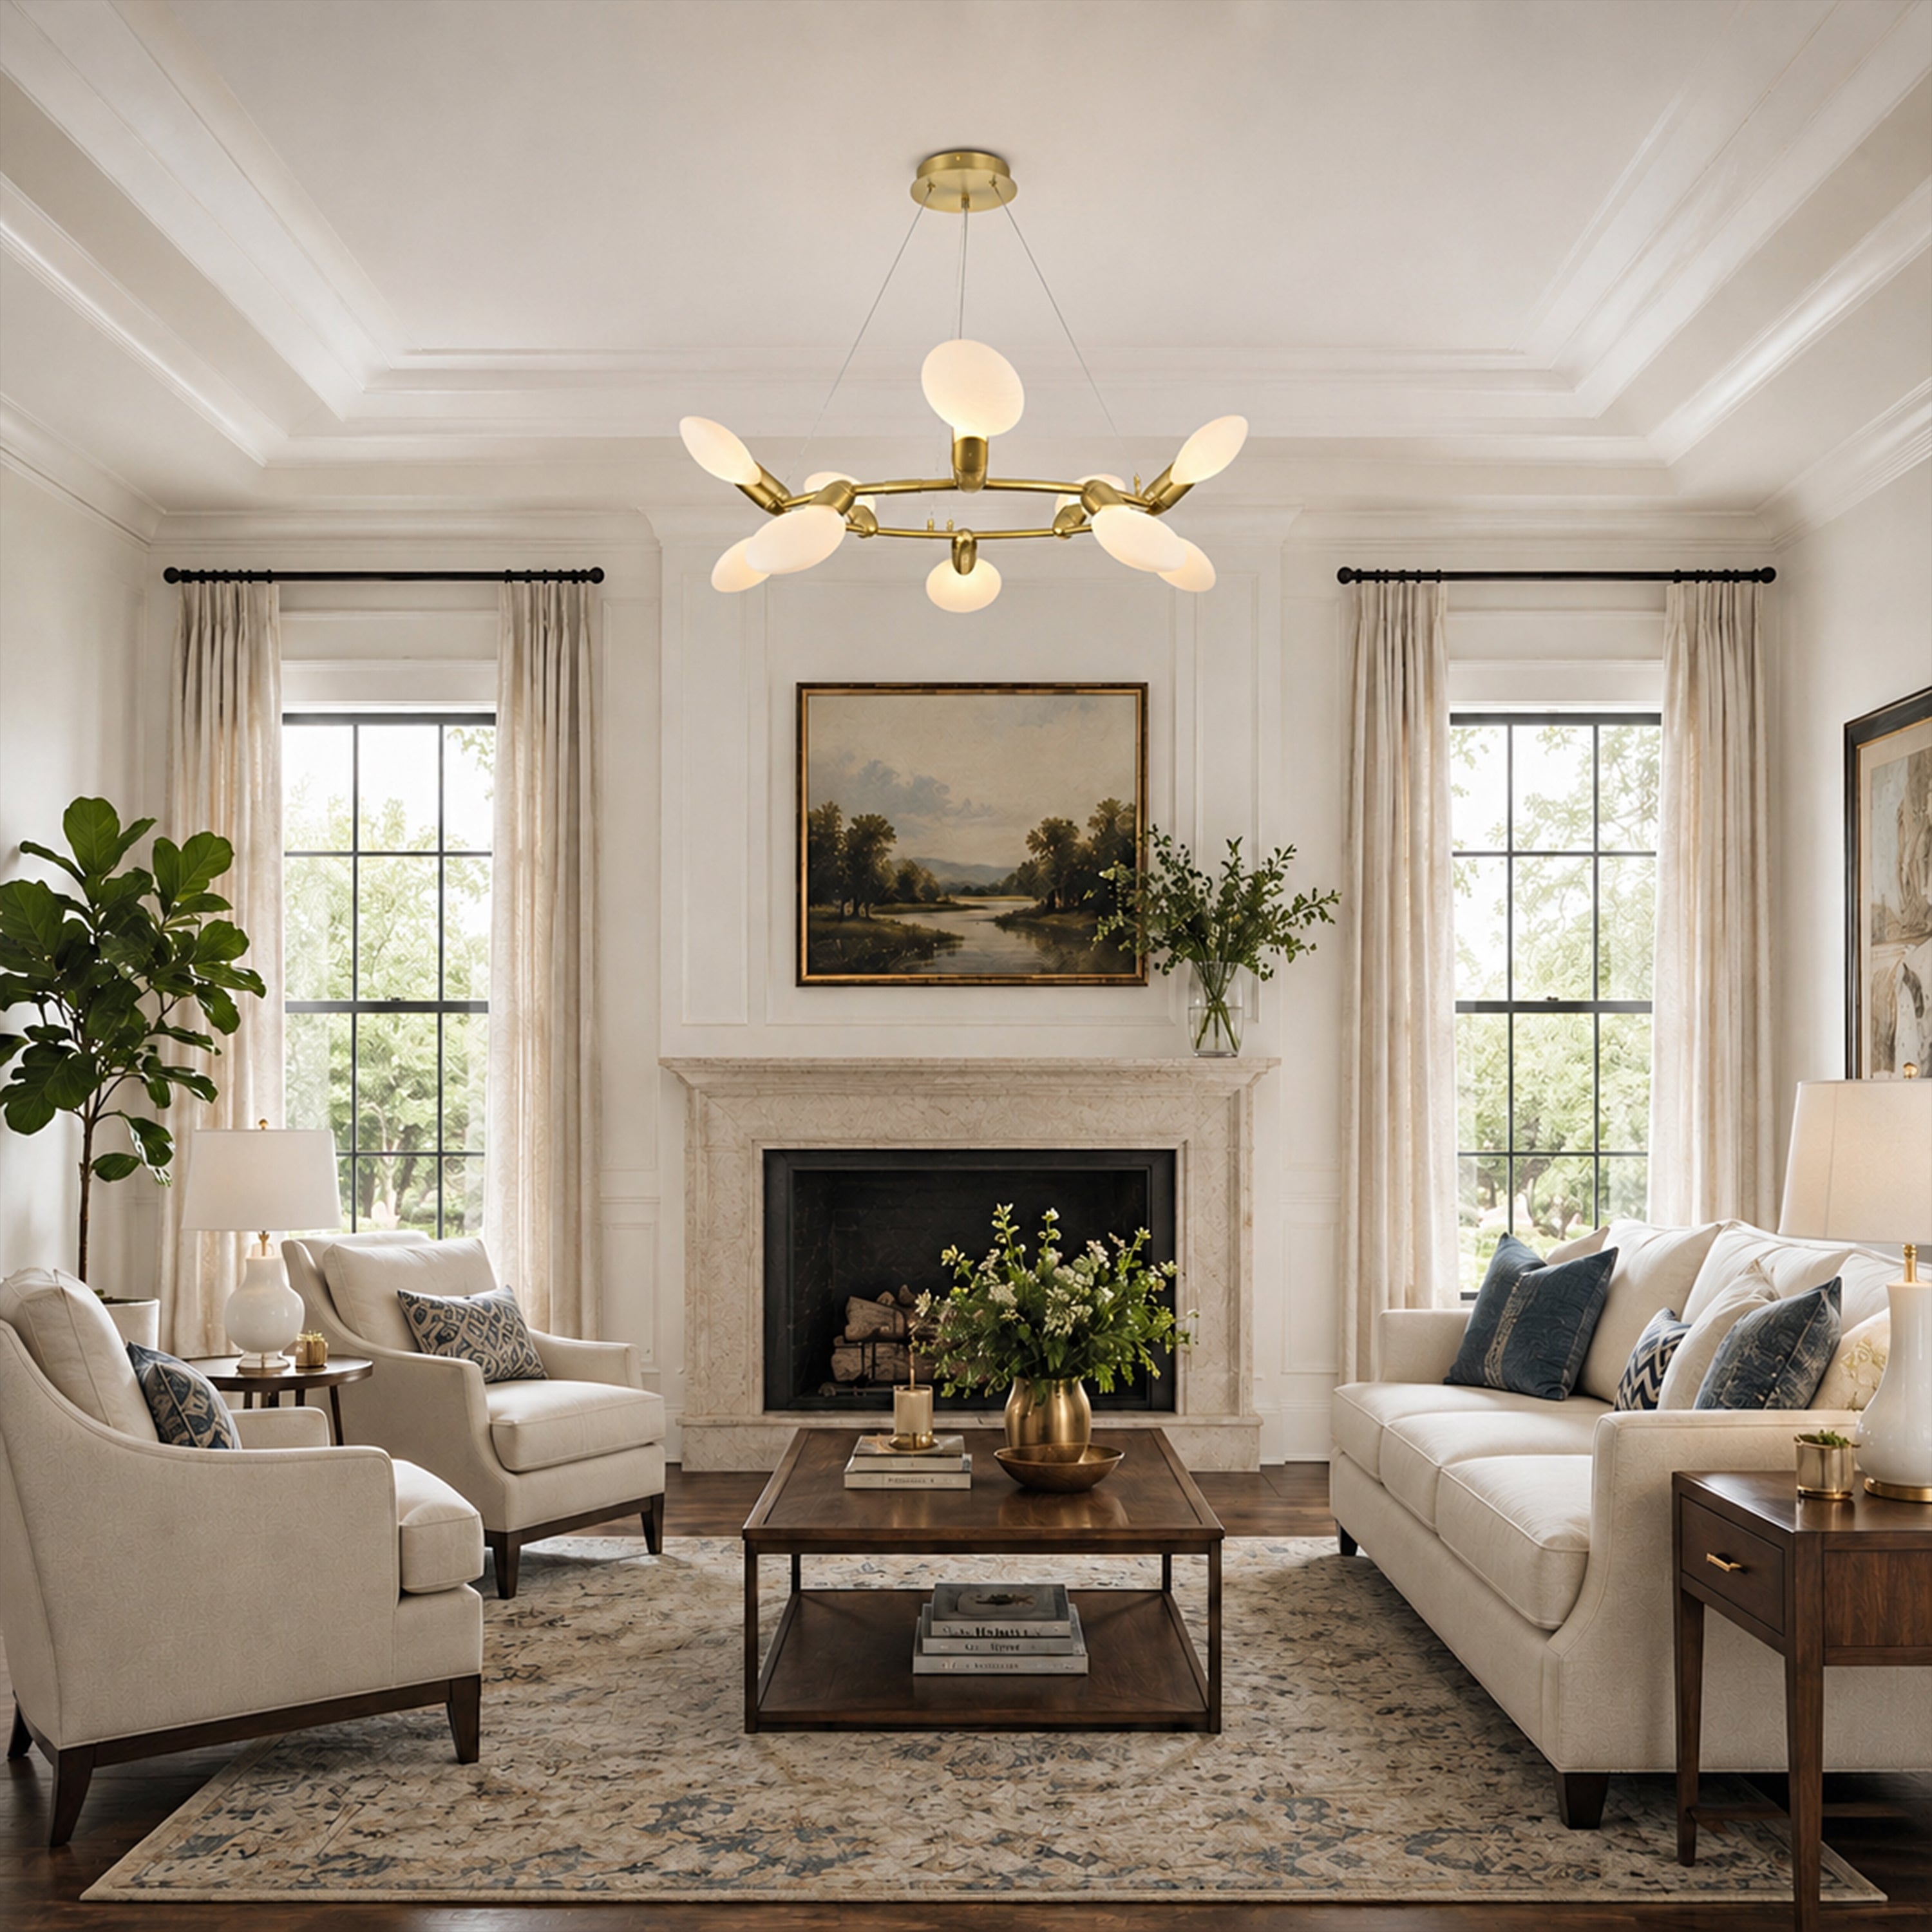
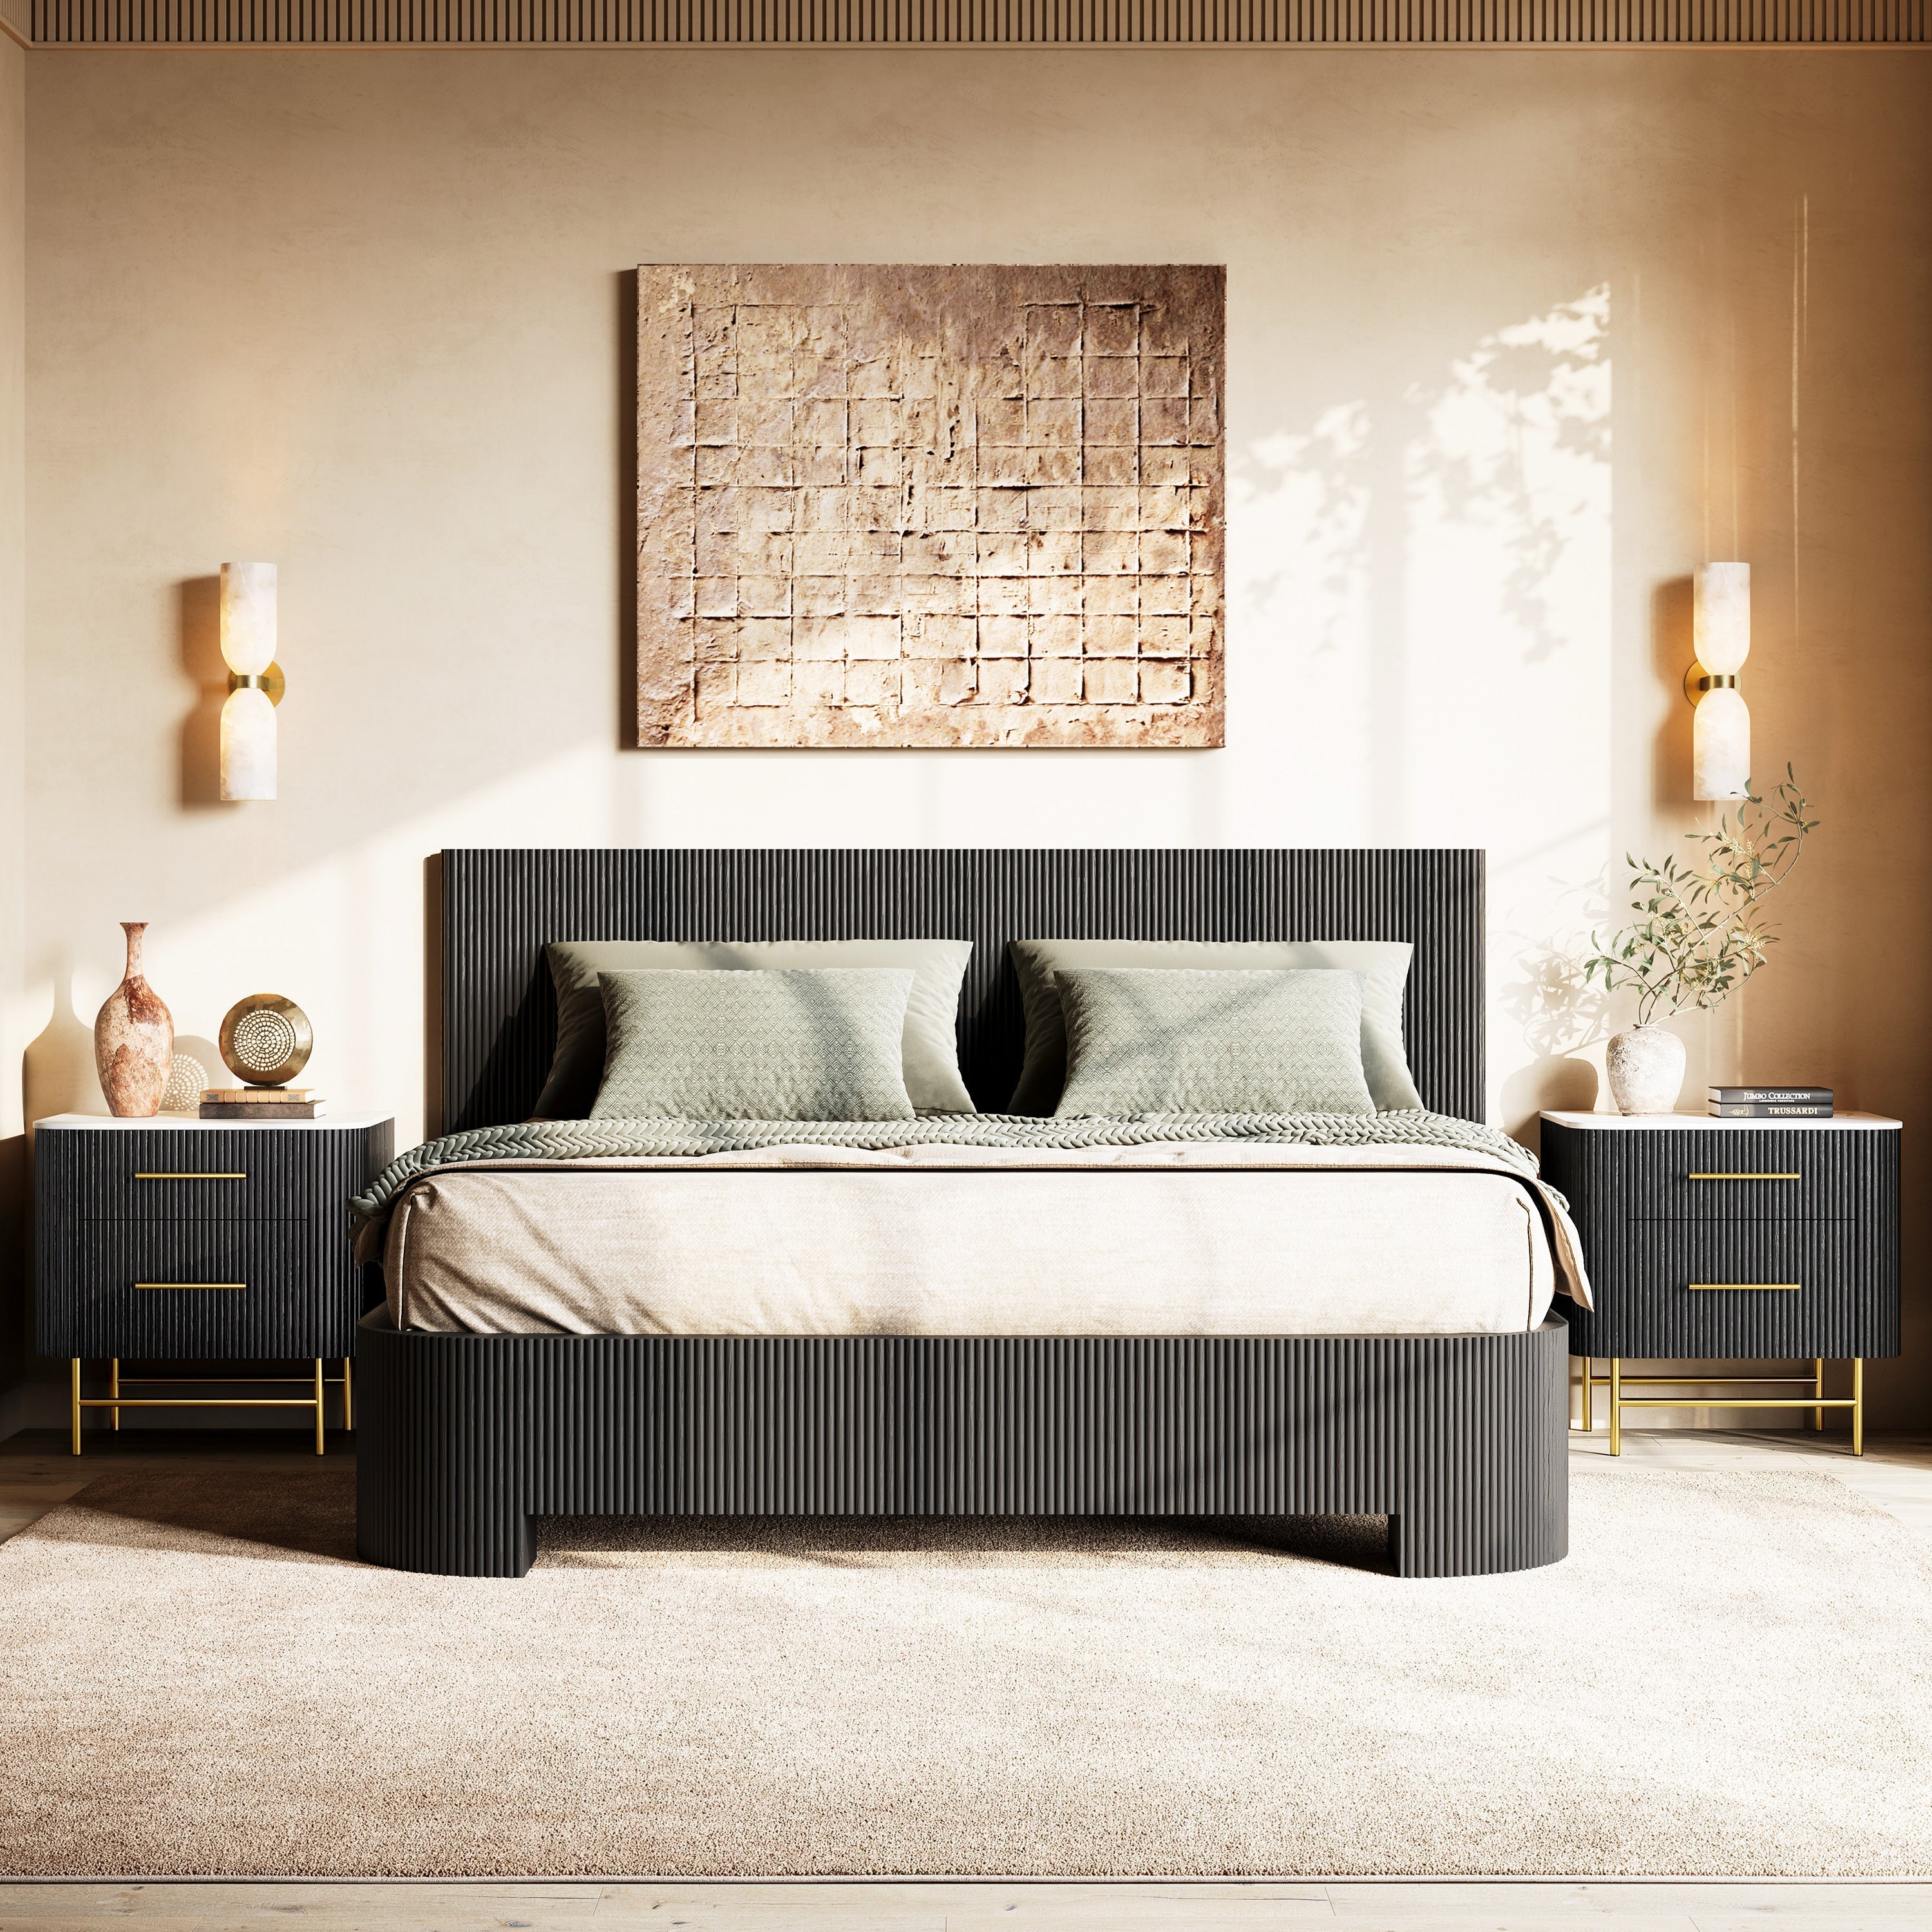
Moira Alabaster Round Chandelier 24"D
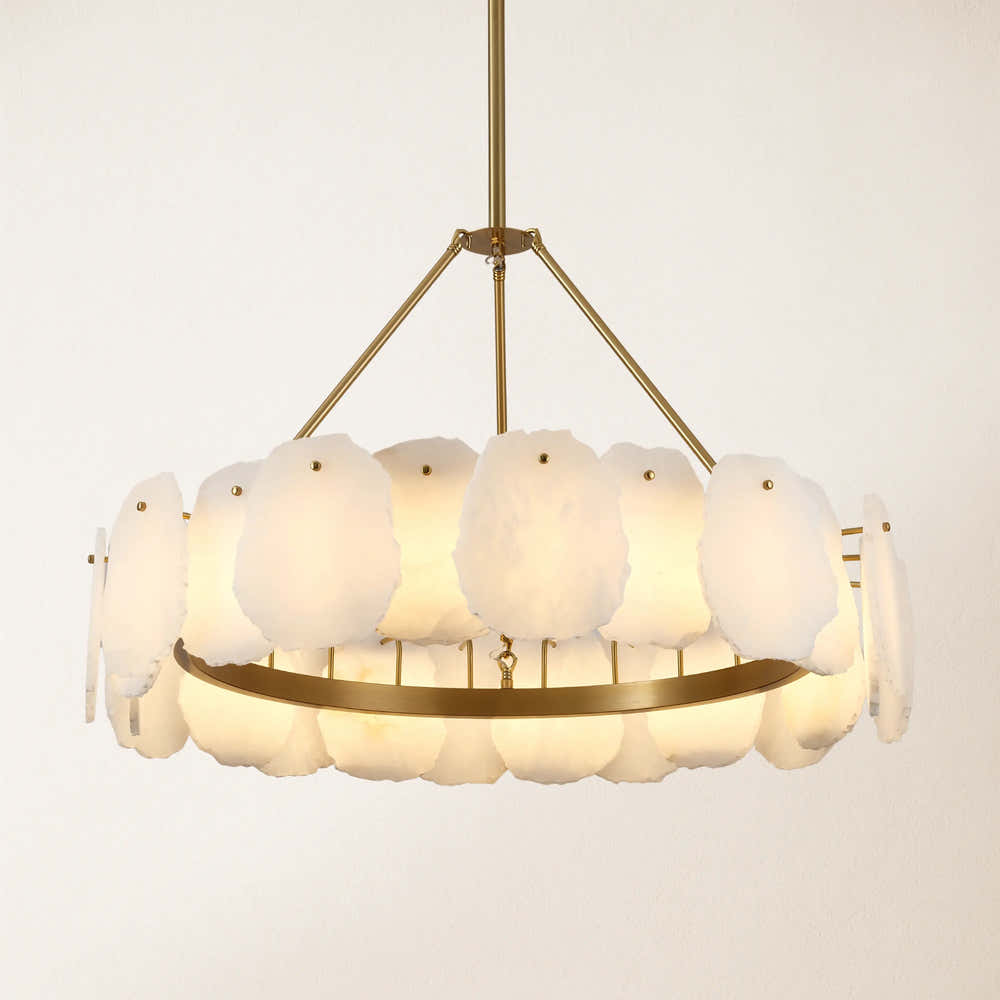
Moira Alabaster Round Chandelier 32"D
Silas Extendable TV Stand 203cm to 280cm

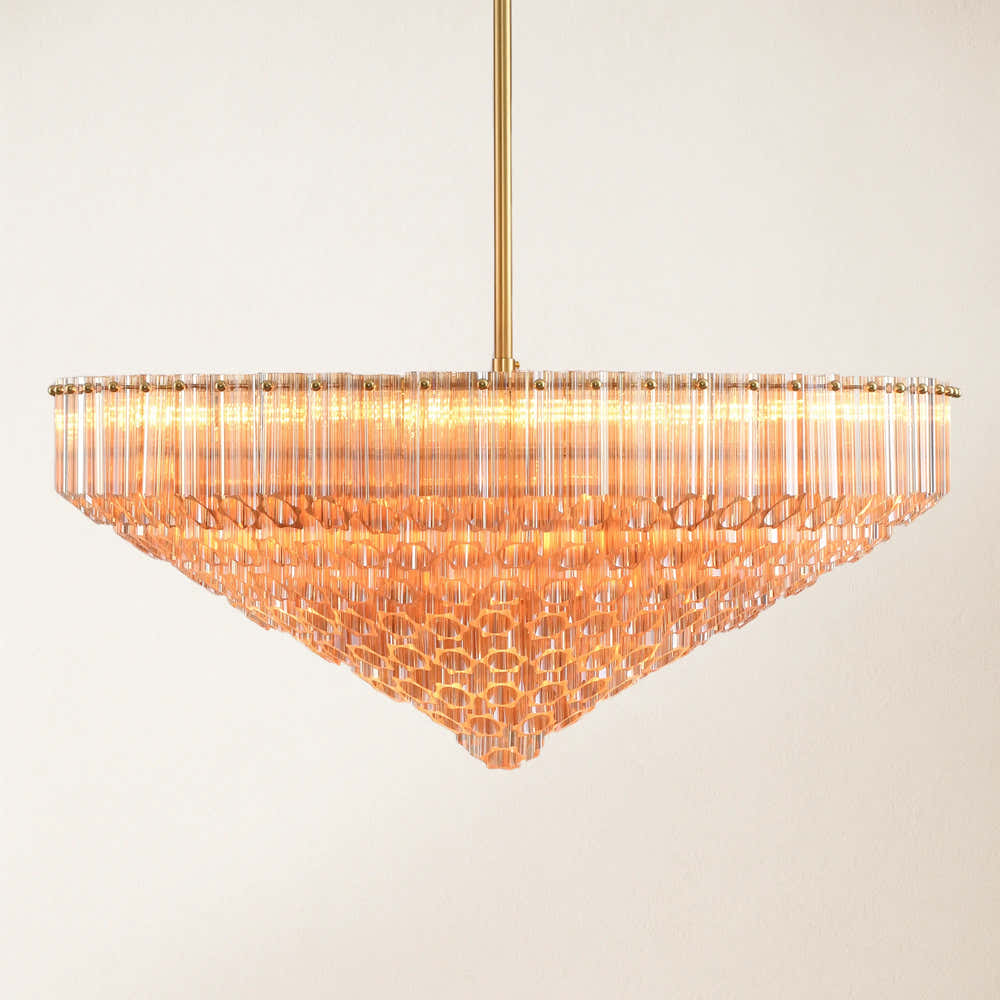
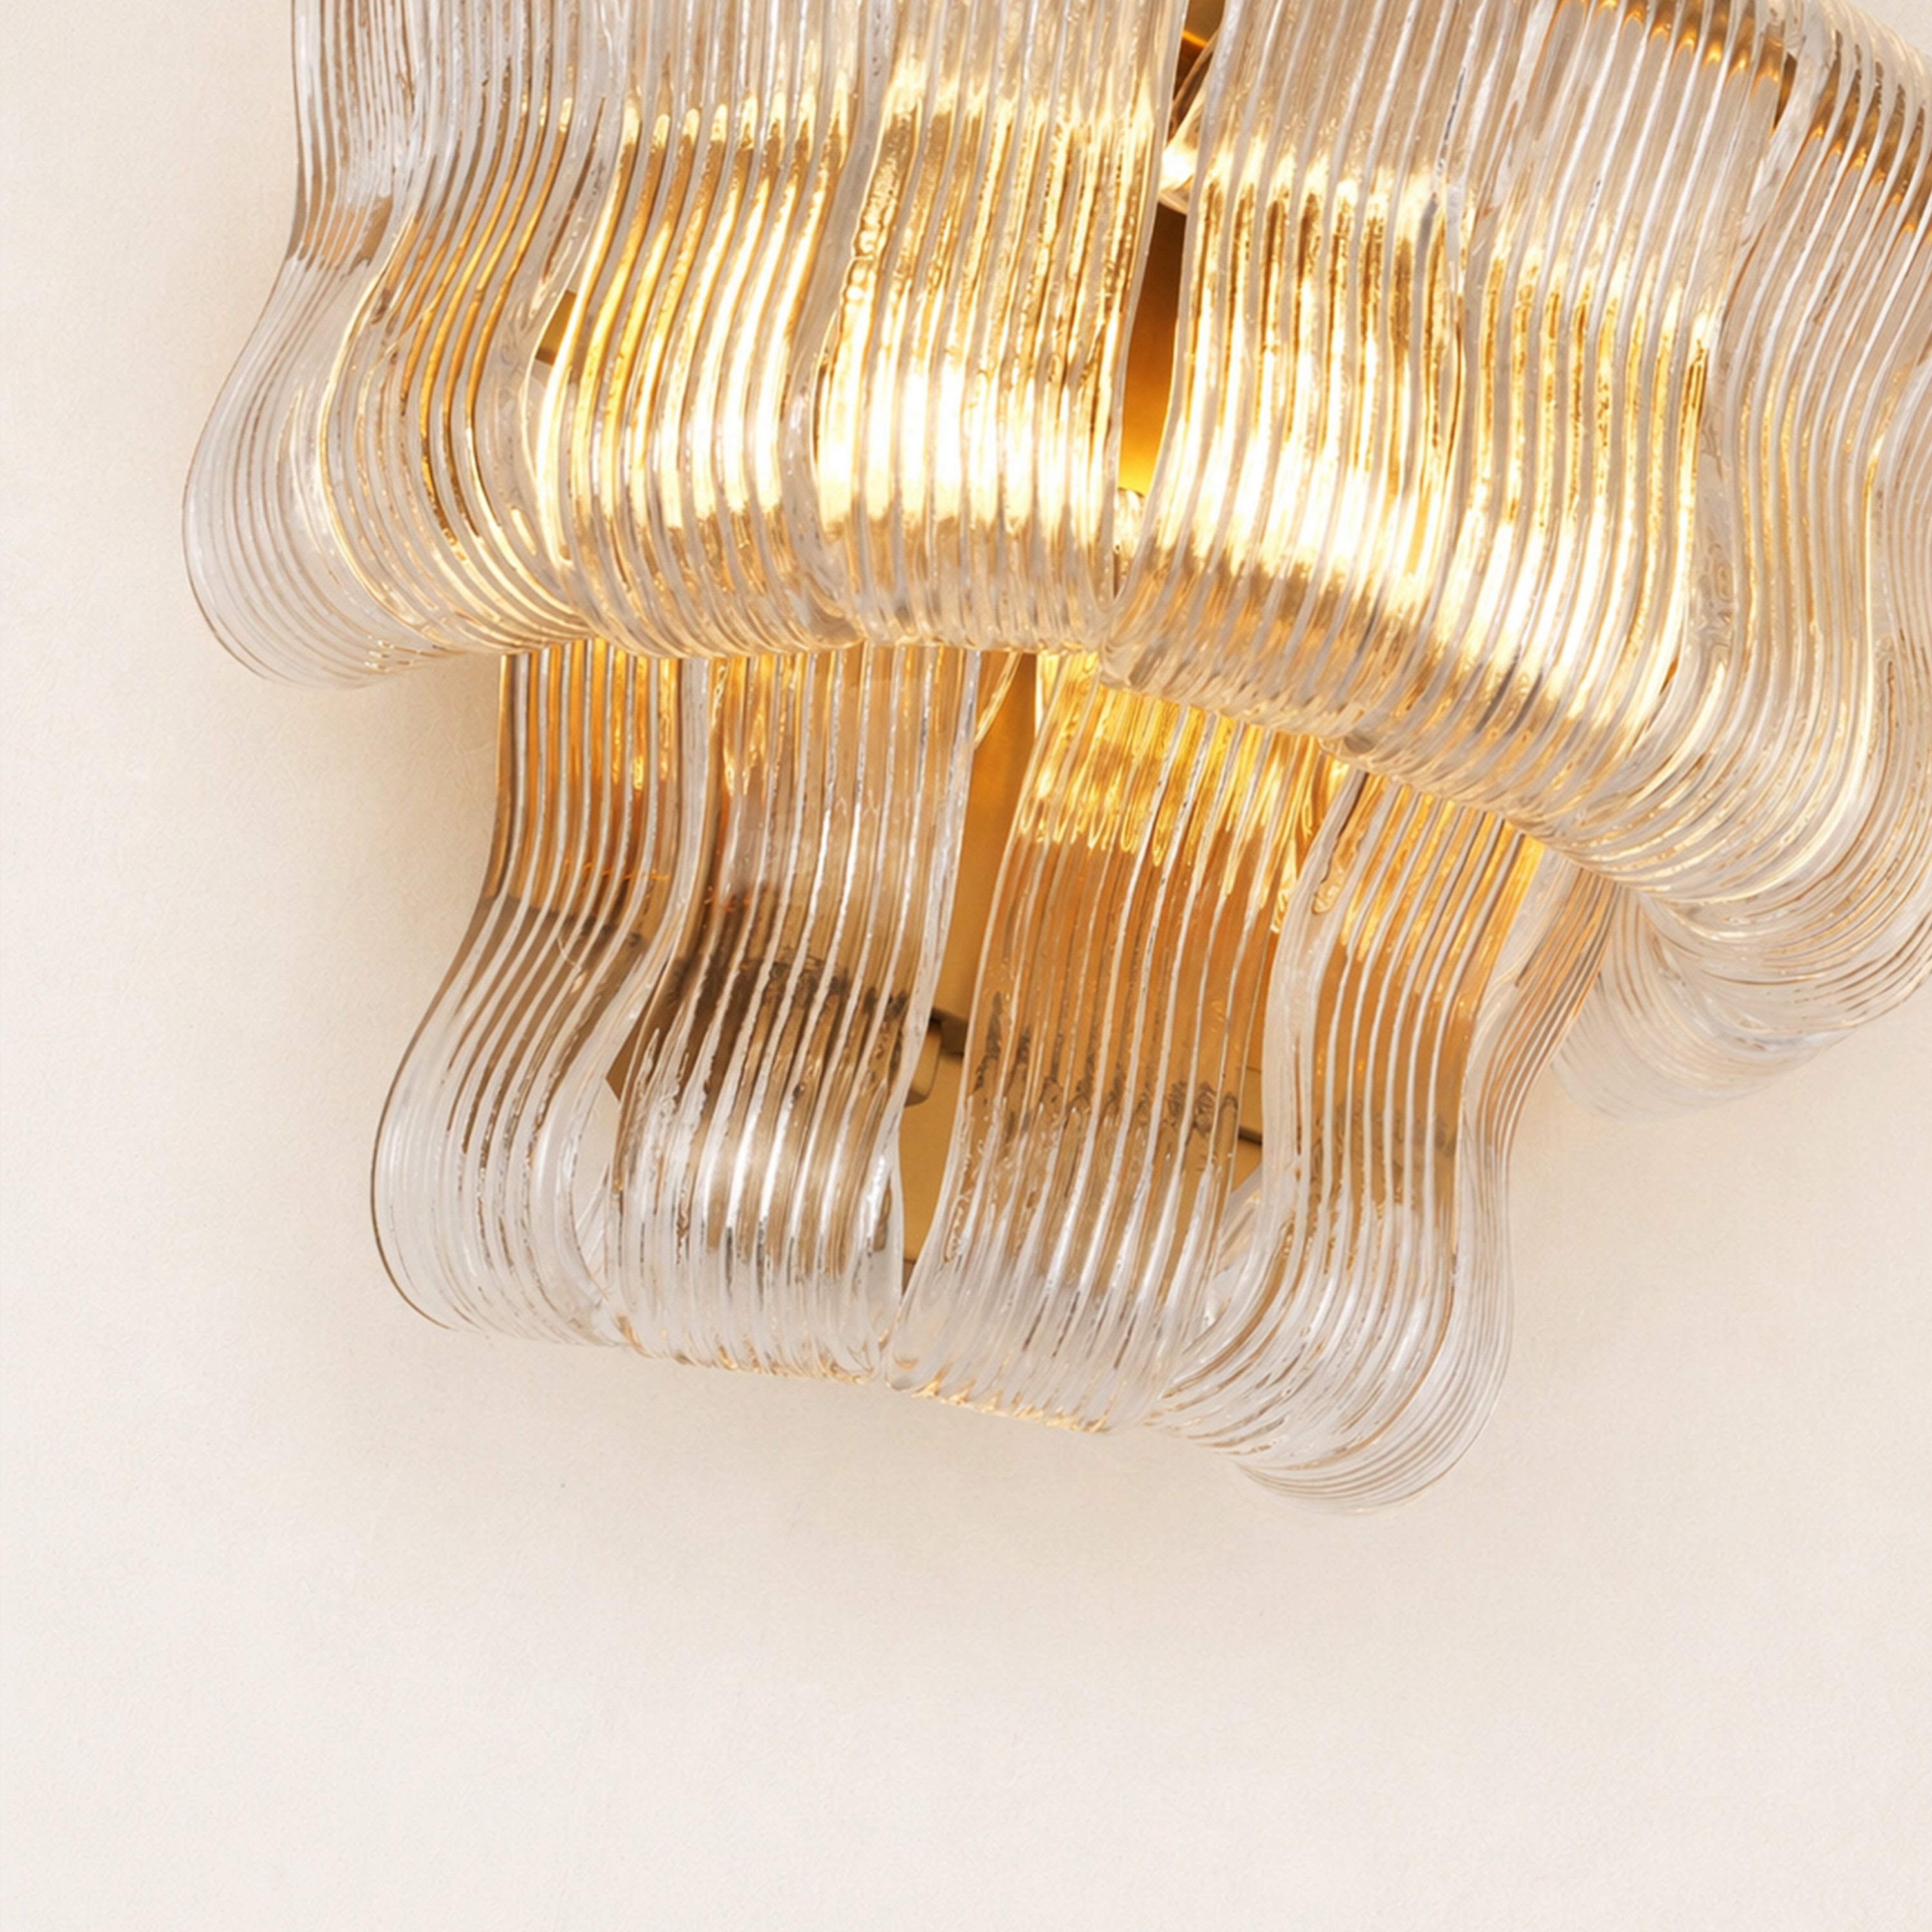
Stellara Crystal Strip Round Chandelier 24"D
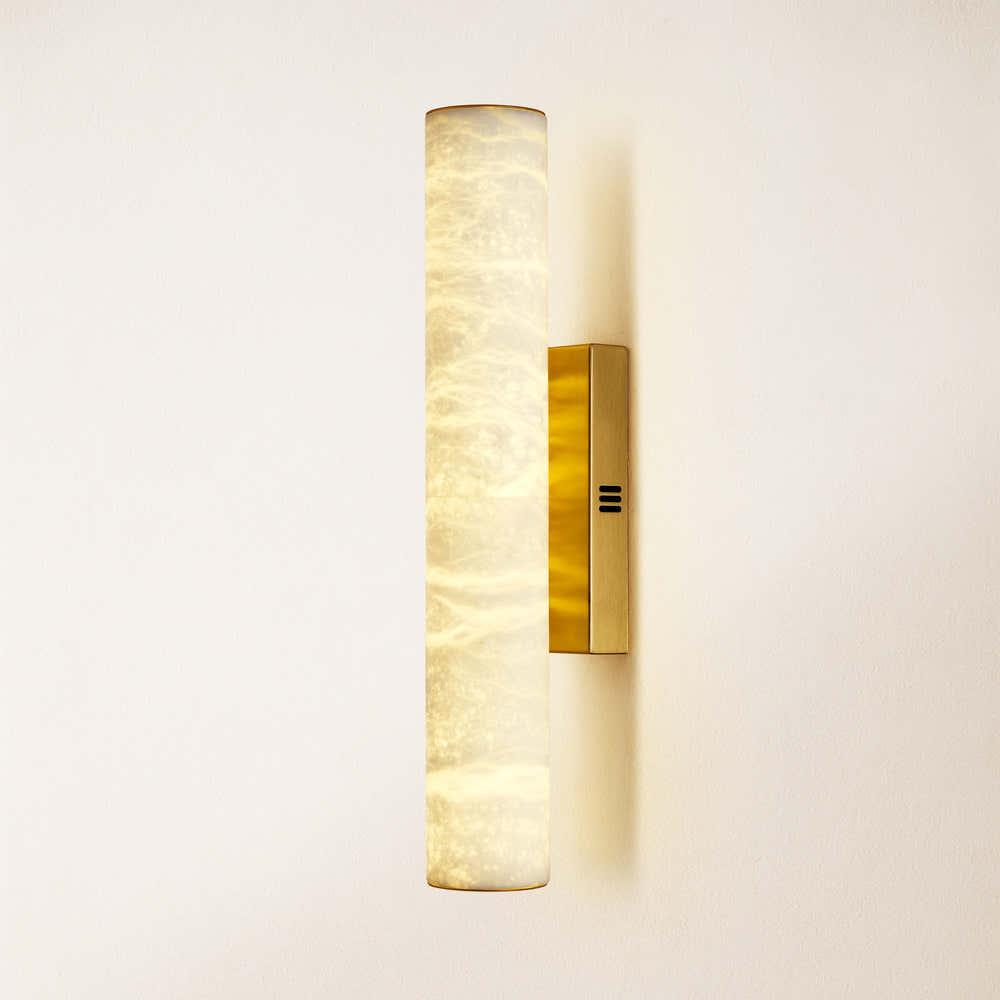
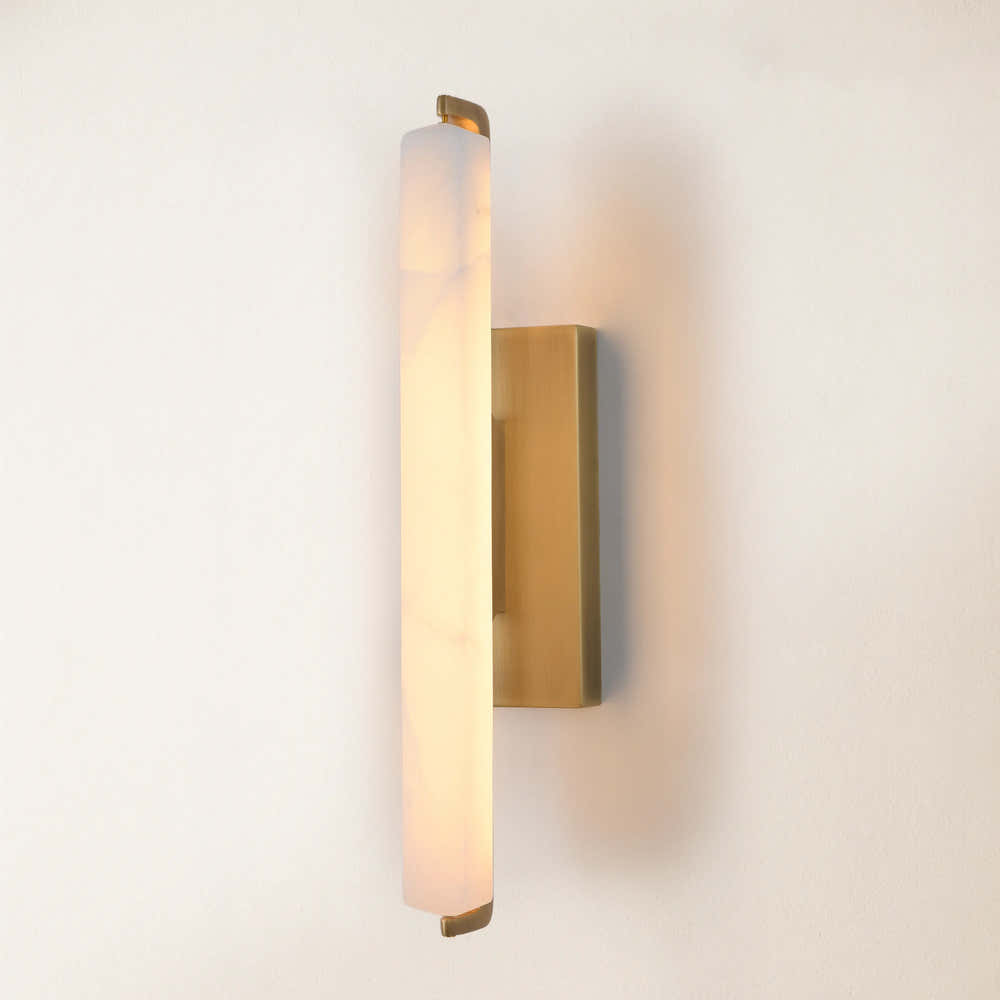
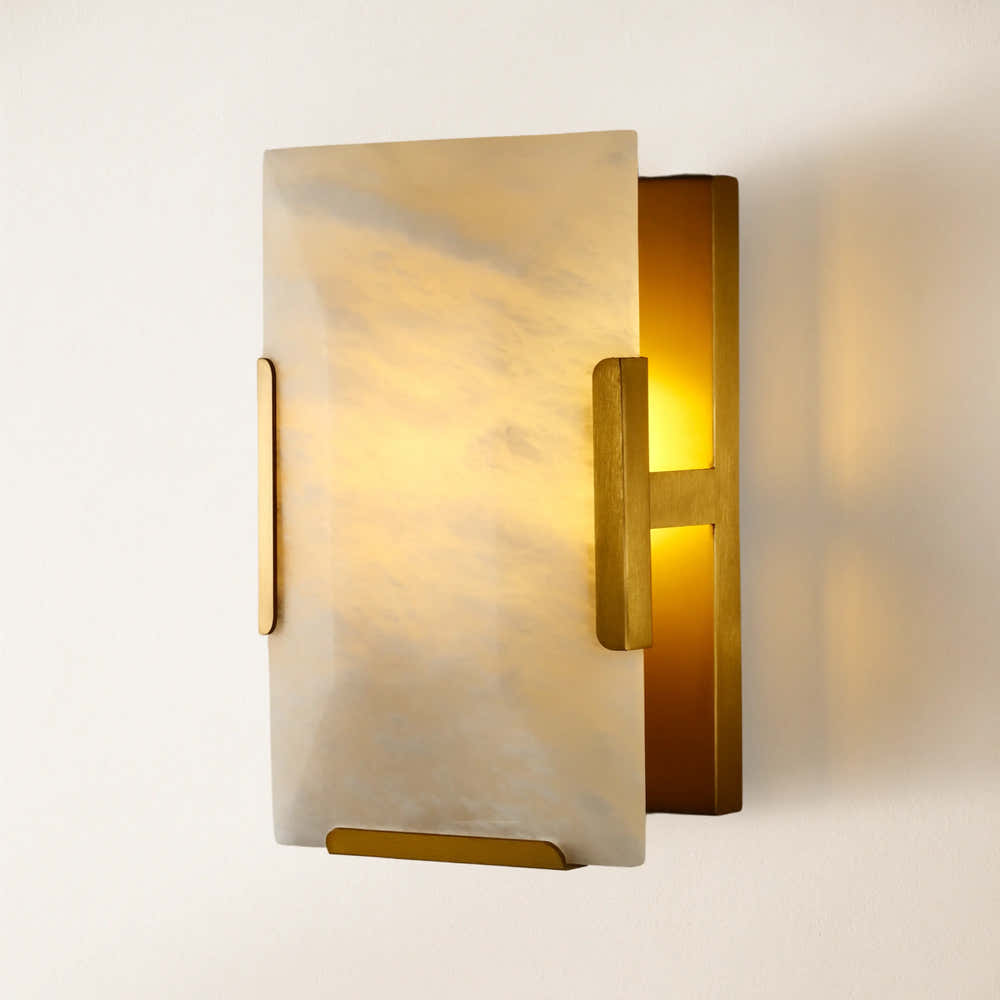
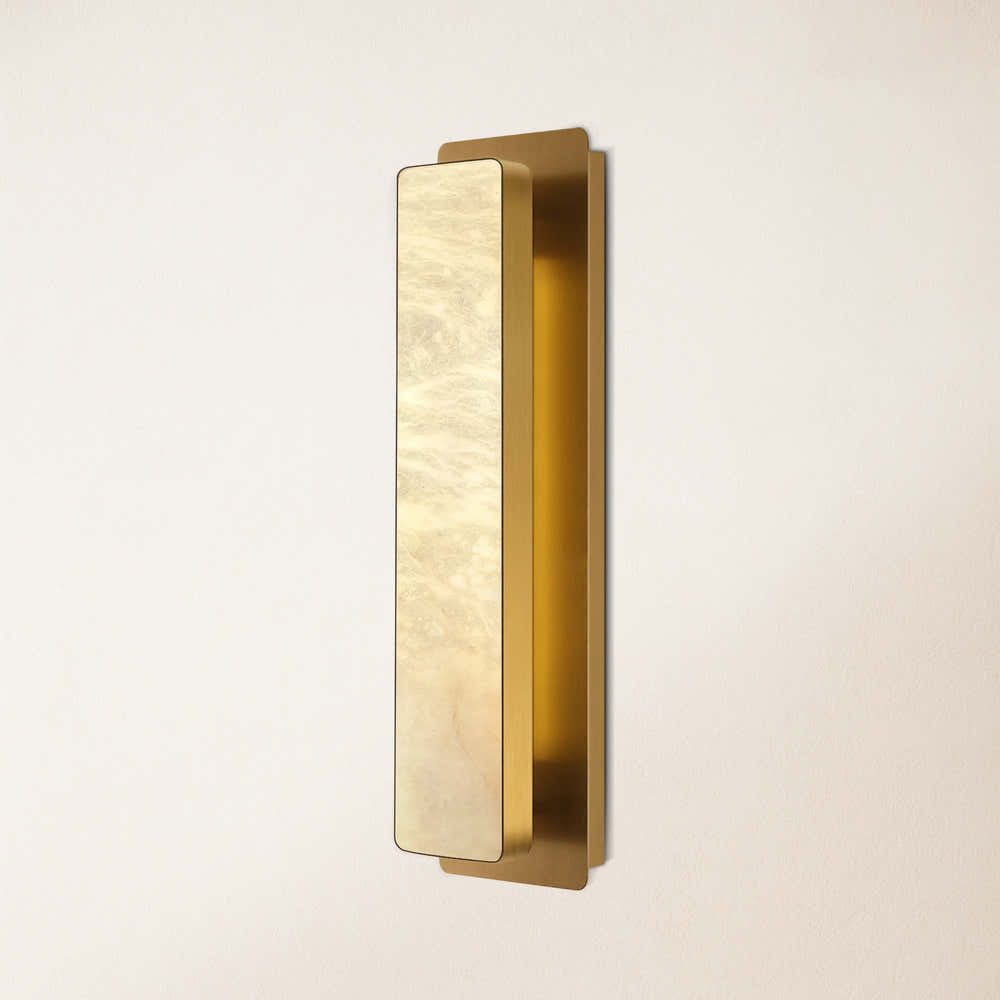
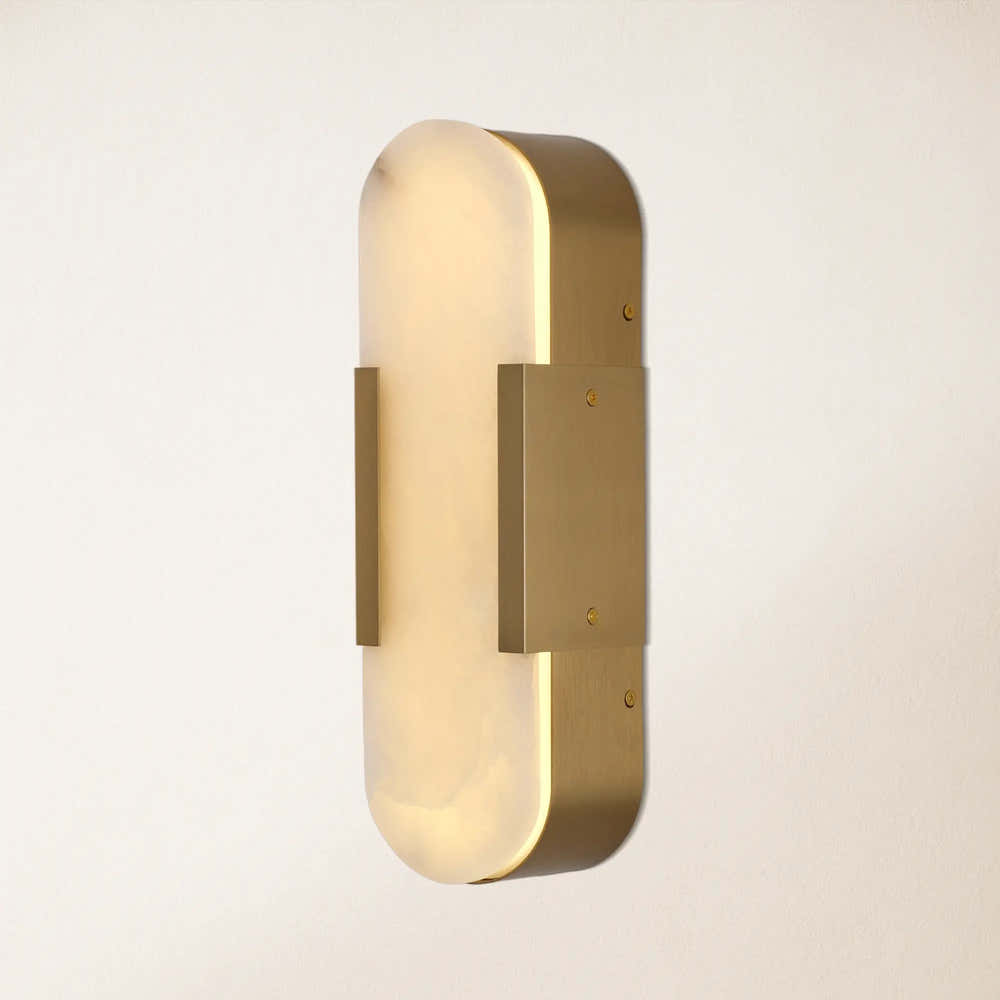
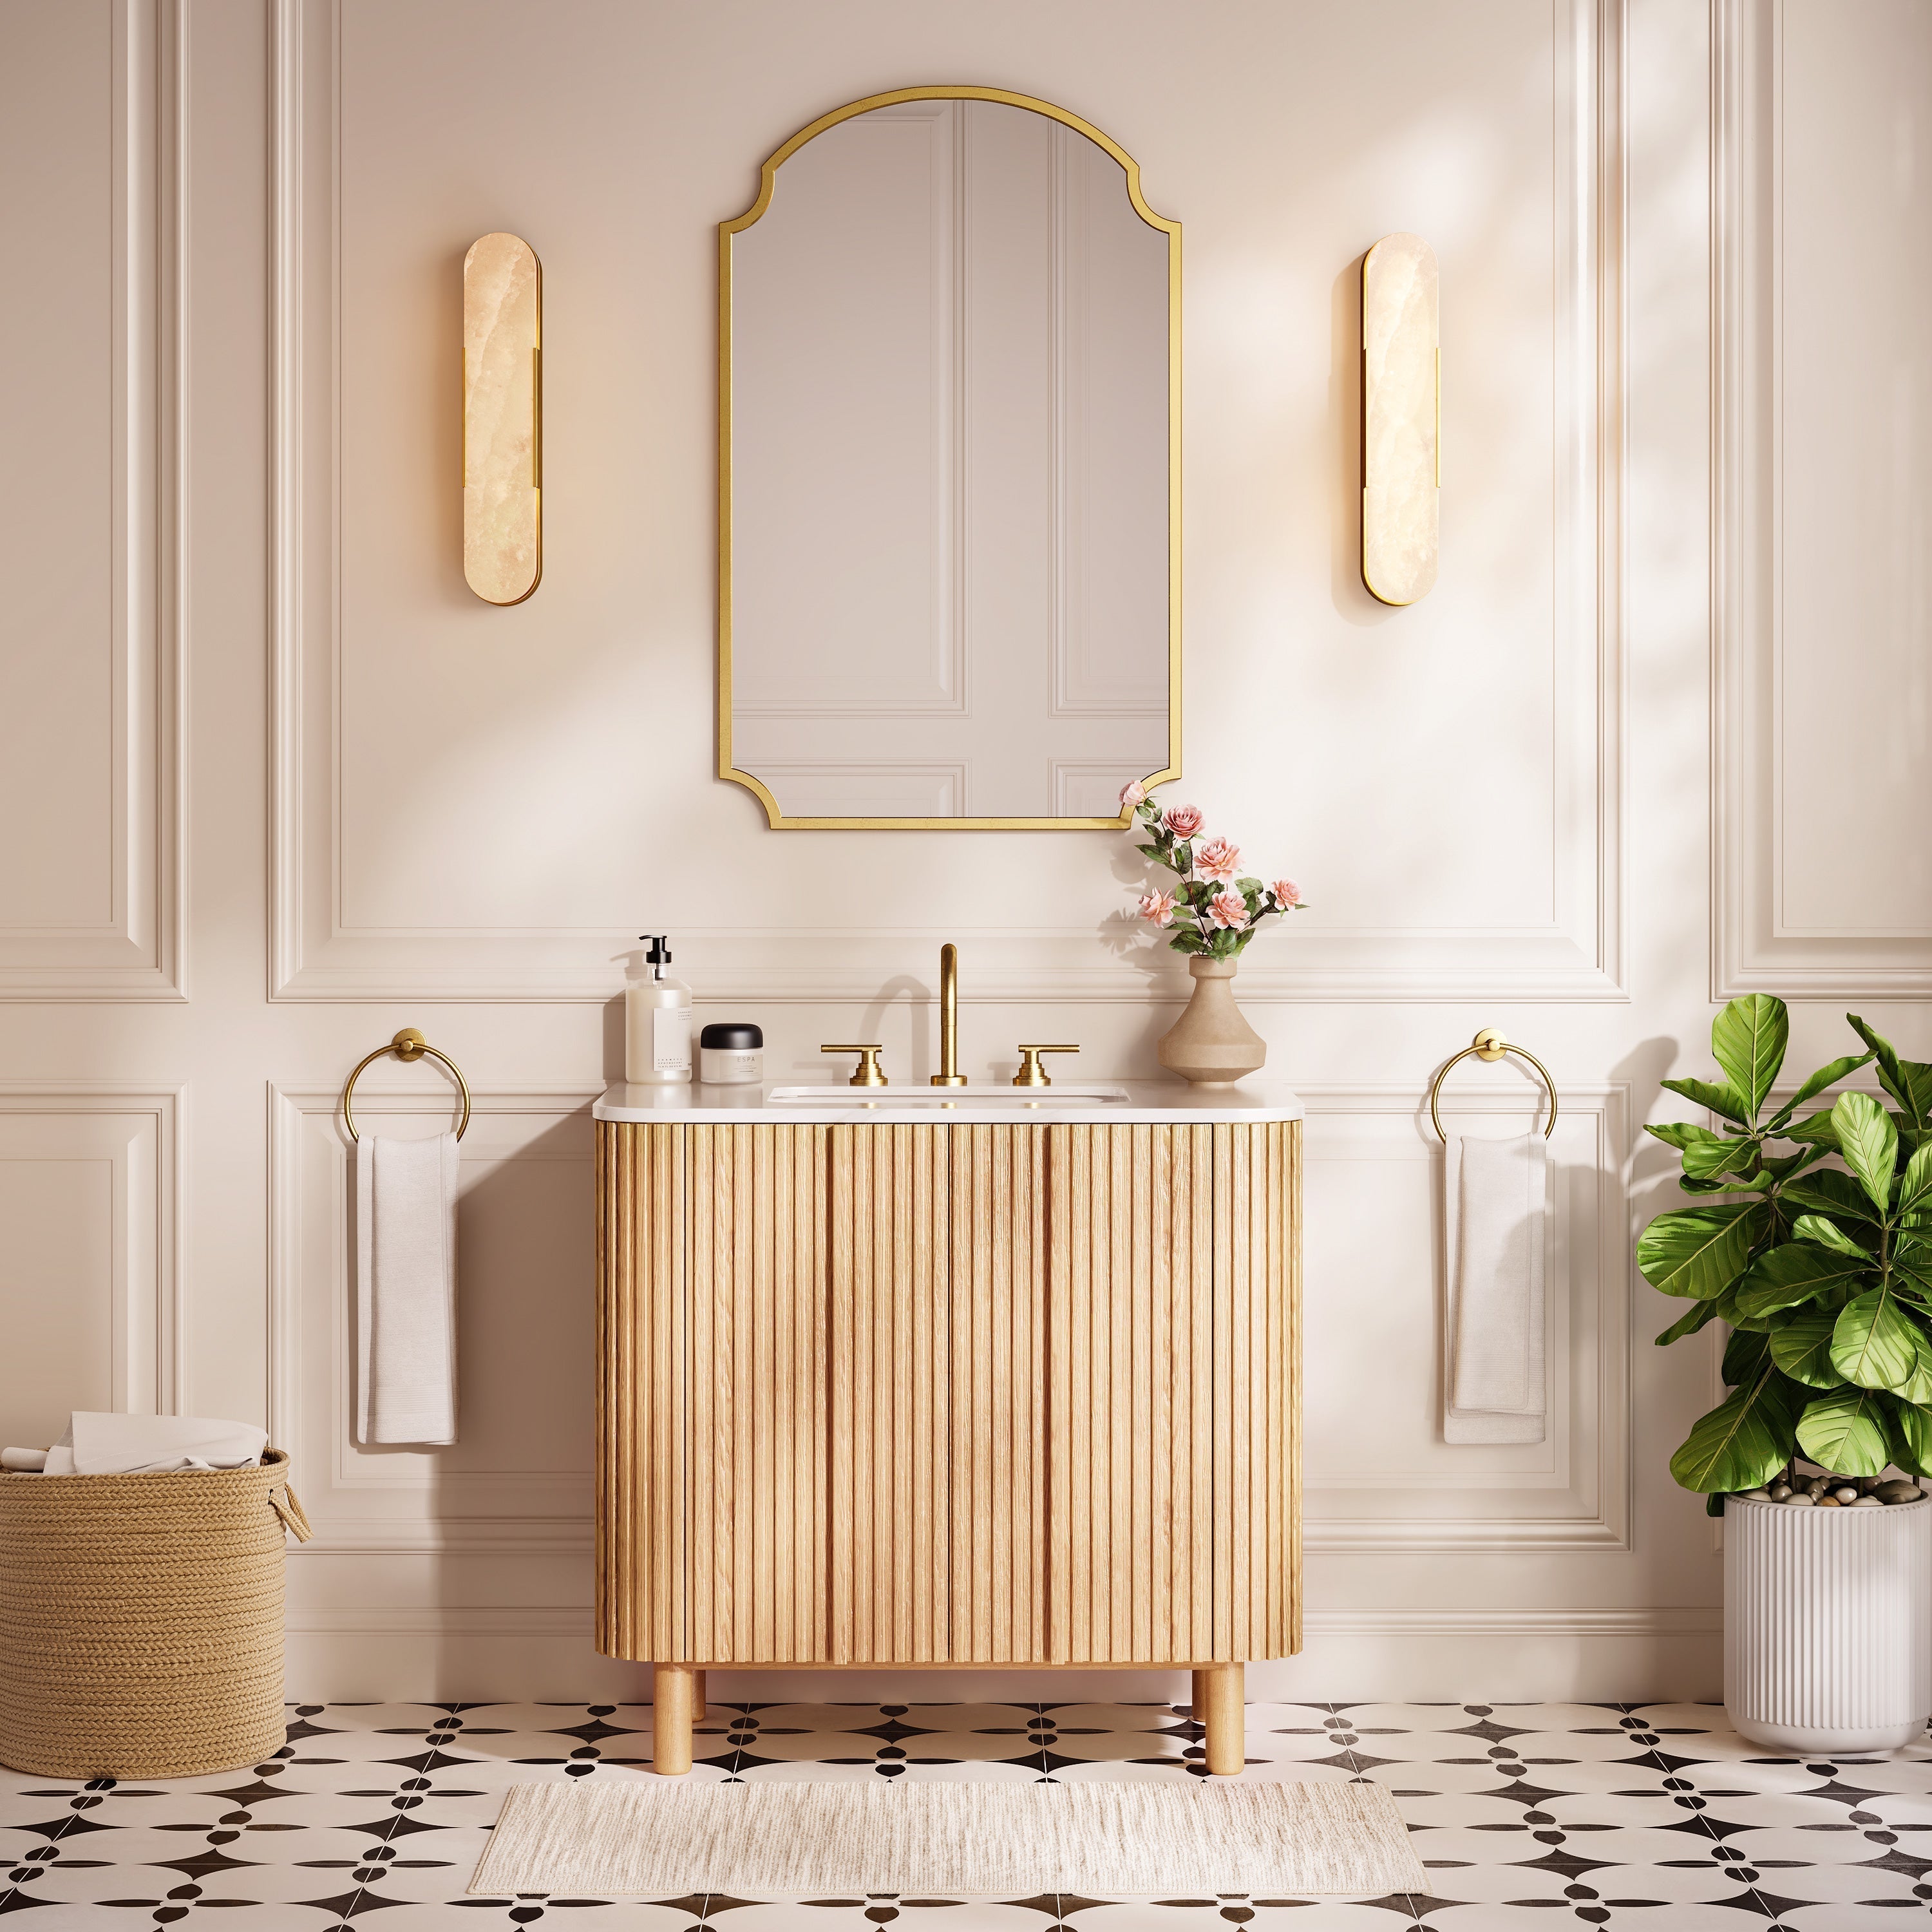
Sylvia Palladian Alabaster Wall Sconce 20"H
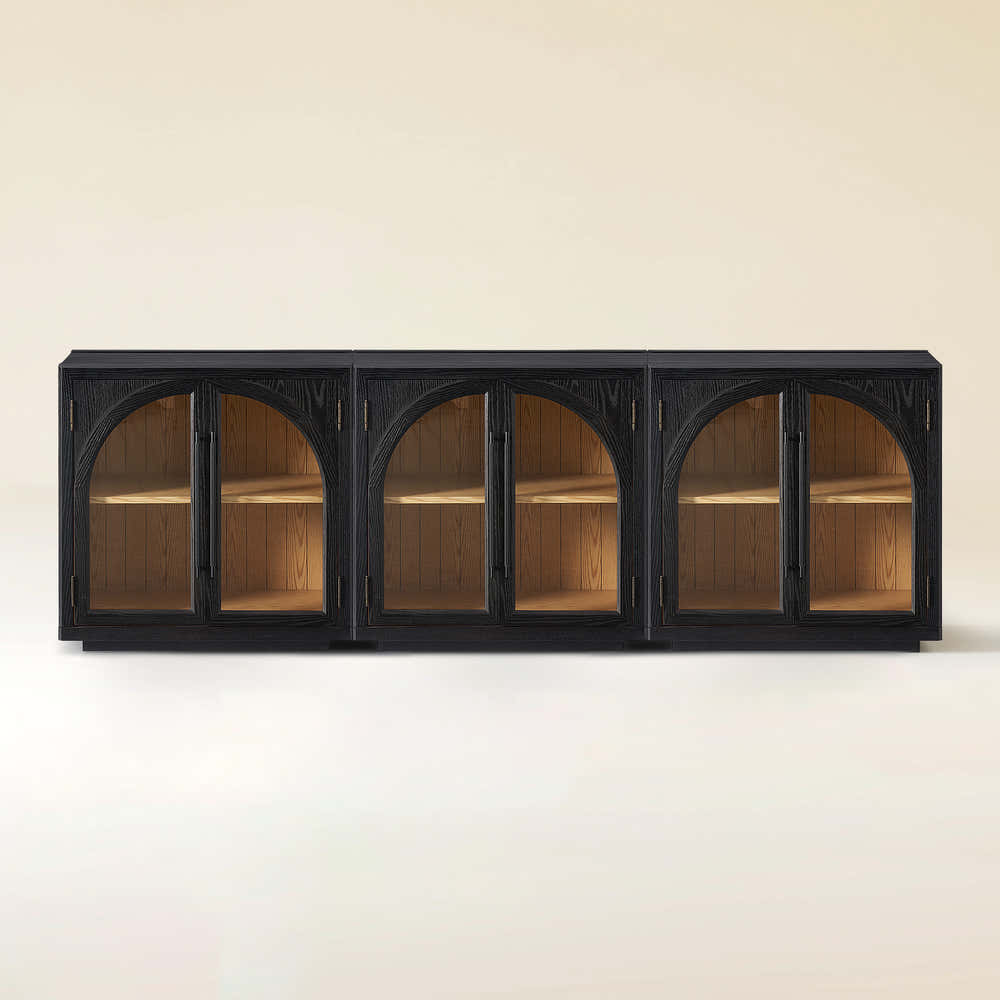
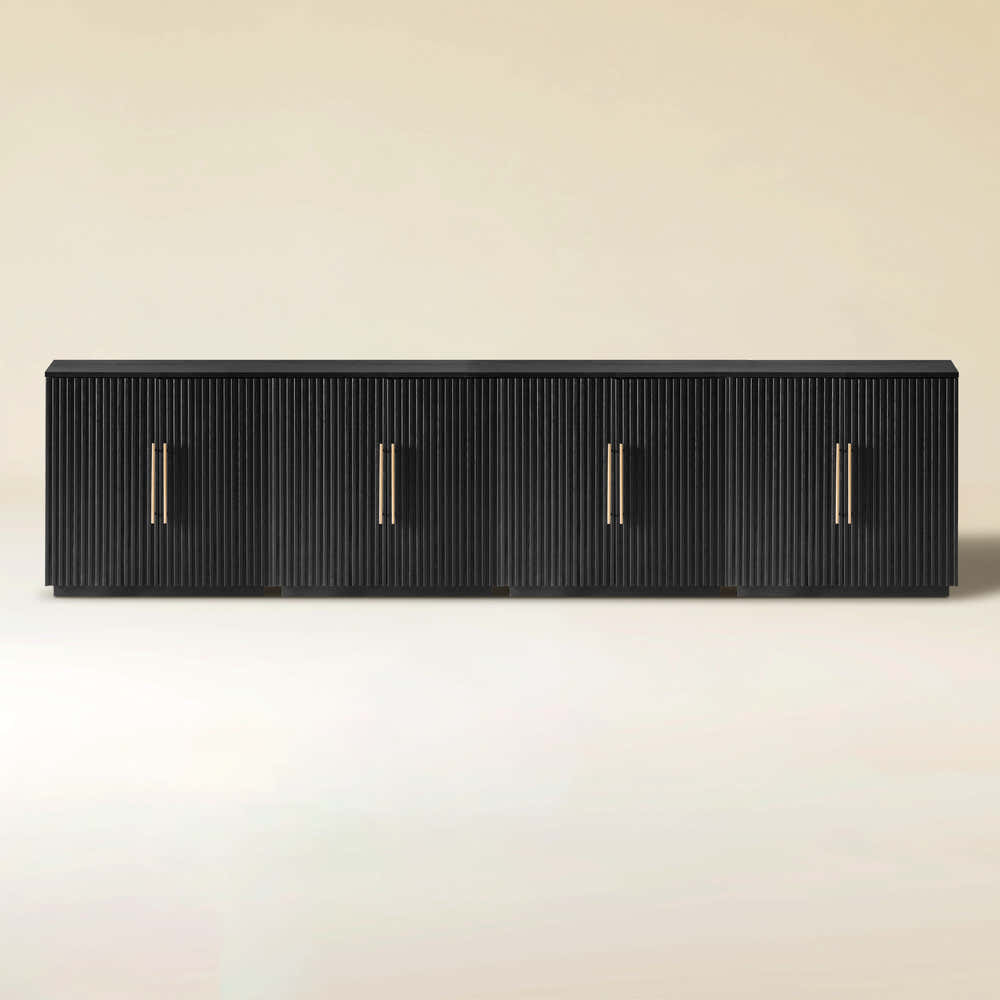
Alvar Arched 91″ Oak Media Console(Set of 3)
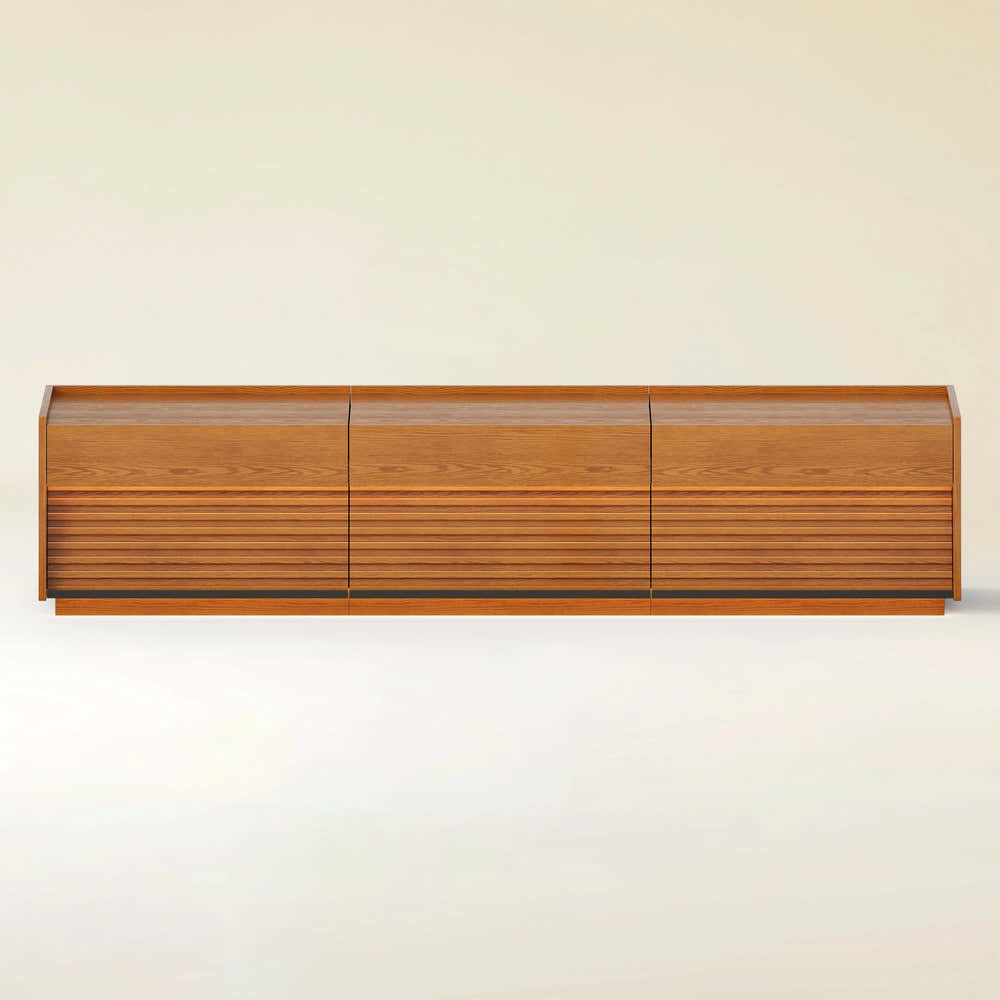
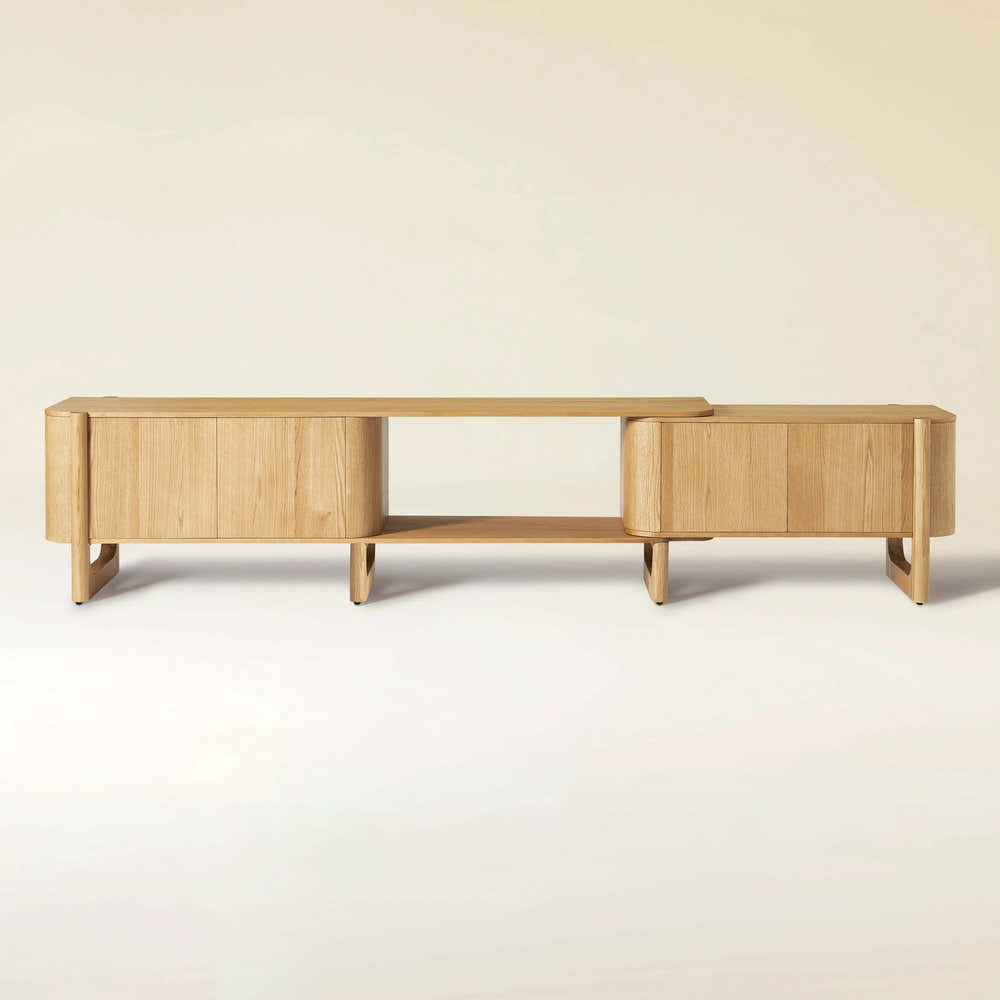
Ewan Oak Extendable Media Console 79" to 110"
Holt 126″ Solid Oak Console(Set of 4)

FSC FCOC47059 . FSC is dedicated to the promotion of responsible forest management
worldwide. By selecting this product, you help take care of the woorld's forests

UL-certified for indoor drying environments not directly exposed to excessive moisture or water;
Use in the United States and Canada.

Certified to Dry ETL electrical standard: suitable for use indoors in dry locations not directly exposed to excessive moisture and water
Use in the United States

CE-certified drying equipment compliant with electrical standards: Suitable for indoor drying environments not directly exposed to excessive moisture or water;
Tested for use in Europe, the UK, and other regions.


The support center has answers to questions you may have. You can also contact customer service in the support center if you can't find what you're looking for.
Support Center >
At houlte, we are committed to delivering quality, style, and great value to our customers. Our goal is to simplify your shopping experience by providing competitive prices and exceptional service.

If an item you purchased from houlte goes on sale on our website within 30 days of your purchase date, you may request a price match. This policy ensures you always receive the best value when shopping with us.
Houlte reserves the right to interpret and adjust the terms of the Price Match Policy as necessary.
Houlte has partnered with Taskrabbit to make your everyday life at home easier by connecting you with flexible and affordable ways to get your to-do’s done including furniture assembly and mounting.

1. Purchase your furniture at Houlte.
2. Check your order Dispatched and Delivered email and click the
Houlte link. You will be redirected to Taskrabbit's landing page.
3. Post your task on Taskrabbit platform.
4. Pick the best tasker to assemble your furniture.
Houlte has partnered with Taskrabbit to make your everyday life at home easier by connecting you with flexible and affordable ways to get your to-do’s done including furniture assembly and mounting.
Taskrabbit Assembly is available in most metro areas in the US. The availability of Taskers varies based on demand. When placing an order on Taskrabbit, you will need to enter your zip code. If the service is not supported in your area, you will not be able to place an order.
You can book assembly for your Houlte furniture as early as the next day after your delivery, and up to 14 days in advance, giving you flexibility to choose a time that works best for you.

Ready to use out of the box; minimal installation may be required (e.g., handles).

Main structure is pre-built; minor components require attachment (e.g., legs).

Assembly required; multiple parts must be assembled before use.
Our furniture is built with a combination of core boards, real wood veneers, and selected solid wood parts. Each material is used for a different purpose—structure, surface appearance, or visible strength—so the final piece feels balanced in performance, finish, and cost.
Core boards form the internal foundation of the furniture. They provide structure, stability, and efficiency across large surfaces and cabinet bodies.

Stable structural board

Smooth and consistent

Functional internal board
Selected solid wood parts are used where visible strength, tactile quality, and structural integrity matter most—such as legs, frames, trim, and exposed support details.

Durable and classic

Light and versatile

Premium and elevated
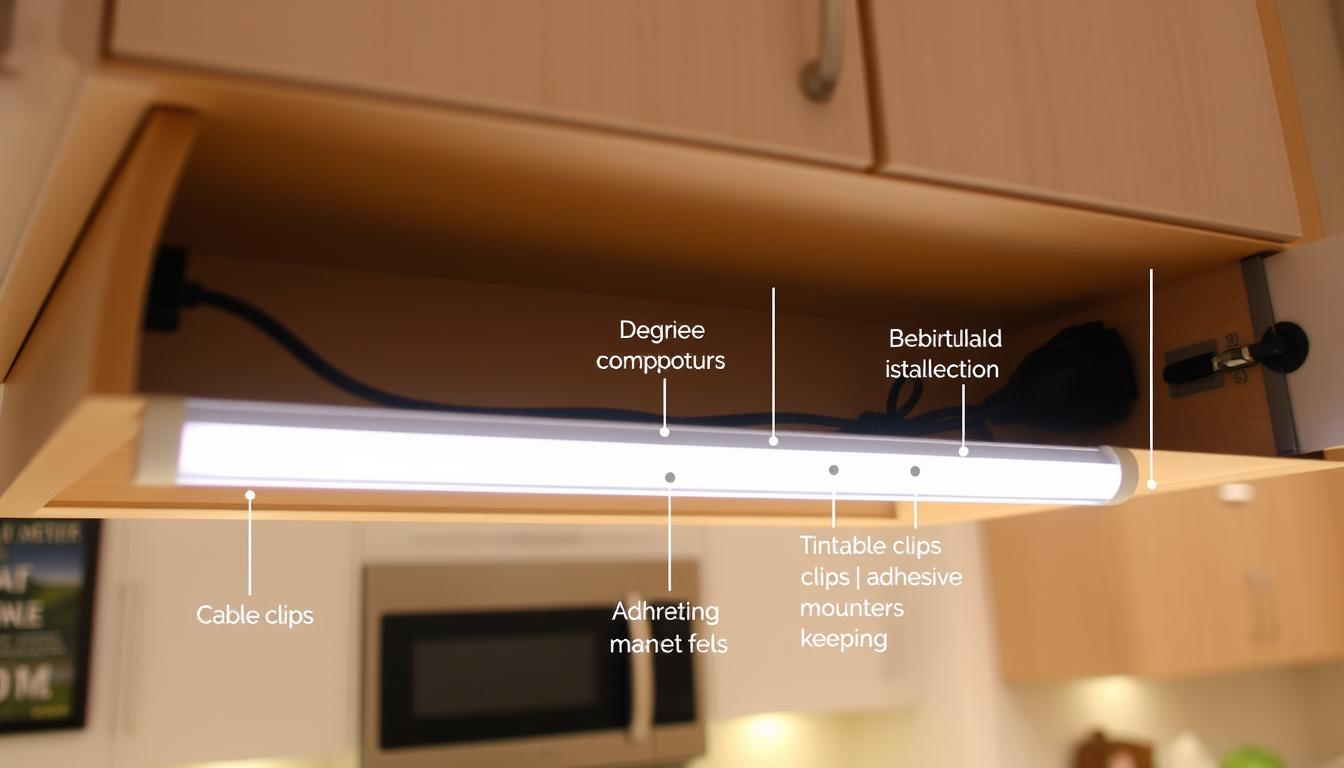
Kitchen renovations often include adding task lighting beneath cabinets for better workspace illumination. But, exposed electrical wires can ruin the clean, modern look you're trying to achieve.
Professional-looking results require proper wire management techniques. Many homeowners struggle with this aspect of under cabinet lighting installation. They leave visible cords that detract from their kitchen's aesthetic appeal.

This comprehensive guide covers multiple concealment methods suitable for different skill levels and budgets. From simple adhesive solutions to integrated systems, you'll discover techniques that work with LED strips, puck lights, and linear fixtures.
Whether you're a DIY enthusiast or prefer contractor-quality results, these proven strategies ensure safety compliance while maintaining the sleek appearance that makes task lighting so desirable. Each method includes step-by-step instructions using readily available materials.
Effective wire concealment begins with a detailed look at your kitchen's cabinets. Knowing your layout is key before you buy materials or start work. Proper planning prevents costly mistakes and ensures professional results.
"The key to invisible wiring is spending twice as much time planning as you do installing."
First, look at your cabinet's construction and where wires can go. Solid wood cabinets have different options than particle board or laminate. Also, check if there are outlets near your lighting spots.
Make a note of any plumbing, gas lines, or structural elements that might block wire paths. Think about how your wire management systems will fit with your cabinet's design and finish. Take photos of your cabinet interiors to help choose materials.
Getting the measurements right saves you from running out of materials and waste. Measure the distance between lights and your power source, adding 20% for connections. Don't forget to account for vertical drops from upper cabinets to the counter.
Figure out the total wattage needed by adding up all your lights. Most LED under cabinet lights use 3-8 watts per foot. But, check the specs of your lights. Also, think about voltage drop over long wire runs, which is important for low-voltage systems.
Hardwired installations look clean but need electrical skills and permits. They connect directly to your home's electrical panel. Systems for hardwired setups focus on hiding permanent connections.
Plug-in systems are easier to install and more flexible for changes. But, they hide transformers and power cords, making planning harder. Think about your skills and local codes when deciding.
Starting a professional under cabinet lighting project needs the right tools and materials. The right equipment ensures clean work and avoids costly mistakes. Quality tools are key to a professional-looking job.
Every wire concealment project needs specific hand tools. A cordless drill with different bits makes clean holes in cabinets. Measuring tools like tape measures and levels help place raceways and channels accurately.
Safety gear is crucial for electrical work. Safety glasses protect your eyes from debris. Work gloves give grip and protect hands from sharp edges. A non-contact voltage tester checks if circuits are off before you start.
Other must-have tools include wire strippers, screwdrivers, and a stud finder. These tools help find mounting points and prepare connections.
There are many wire management systems for different needs. Adhesive-backed raceways are easy to install without drilling. They keep wires safe and look clean along cabinet edges.
Screw-mounted channels are better for heavy wire runs. Paintable raceways match cabinet finishes. Clear channels are almost invisible, perfect for visible spots.
Corner connectors and end caps finish raceway installations well. Cable clips keep wires tight and prevent sagging.
Choosing the right electrical components is key for safe, reliable connections. Low-voltage systems need specific connectors for LED lights. Wire nuts and junction boxes organize wire connections safely.
Electrical tape and heat-shrink tubing protect wire splices from moisture and corrosion. Kitchen environments need components that can handle temperature changes and cleaning chemicals.
While quality connectors cost more, they last longer. Make sure they match your lighting system's voltage and amperage for the best performance.
Before starting any electrical wire concealment project, it's crucial to know the safety rules. Electrical work can be dangerous and needs careful planning and strict rules. Even simple tasks like installing under cabinet lighting can be risky if safety steps are skipped.

Local electrical codes set the minimum safety standards for electrical work in homes. These rules change a lot from place to place. The National Electrical Code gives basic guidelines, but local rules can add more specific rules.
These codes cover how wires should be run, how they should be connected, and how far they should be from heat sources. Kitchen work is extra careful because of moisture and being close to cooking areas. Always check with your local building department before starting any electrical work.
For jobs that need new circuits or changes to the electrical panel, you should call a licensed electrician. Also, for complex systems that need permits, a pro is needed. They make sure everything is done right and avoid costly mistakes later.
Insurance might require a pro for certain electrical jobs. Some places need a licensed electrician for any permanent changes. Getting a pro's advice might cost a bit, but it's worth it to avoid safety issues or code problems.
First, find out which circuit you're working on and turn off the power. Use a non-contact voltage tester to check if the power is off at all points. Never skip this step without making sure the power is off.
Choosing the right wire size helps avoid overheating and fires. Make sure to install the right protection against too much current. Also, keep lights and other fixtures far enough away from heat sources. This is very important for LED lights and transformers that get hot.
Wear safety glasses, insulated tools, and non-conductive shoes. Have a fire extinguisher ready and tell someone your work hours. These steps might seem like a lot, but electrical accidents can happen fast and without warning.
Professional-grade raceway systems offer clean wire management. They fit any cabinet lighting setup. These systems keep wires accessible for future maintenance.
They work with many cabinet styles. They also offer flexibility for different installation needs.
Surface-mounted raceways come in two types: adhesive-backed and screw-mounted. Each type has its own benefits, depending on your needs and cabinet materials.
Adhesive raceways are easy to install for most projects. They need minimal tools and don't damage existing cabinets.
Clean the mounting surfaces well before starting. Use degreasing cleaner to remove dust, grease, and finishes. Let the surfaces dry completely before you start.
Temperature is key for adhesive success. Install raceways when the room is between 65-75°F. Cold temperatures weaken the adhesive, and too much heat can cause it to cure too soon.
Here are the main steps for installation:
Screw-mounted channels hold better than adhesive ones. They're best for areas with a lot of vibration or heavy wire loads.
Use a level to mark mounting spots for straight installation. Drill pilot holes to avoid damaging the cabinet. Choose the right fasteners based on the cabinet's thickness and material.
Wood cabinets need #6 wood screws, while metal ones require self-tapping screws. Don't over-tighten, as it can damage the channel or strip the cabinet.
Long wire runs often need multiple raceway sections. Keeping them aligned protects the wires and looks professional.
Most systems use overlapping joints or special connecting hardware. Plan connections to reduce the number of joints while covering all wires.
Keep mounting points evenly spaced across all sections. Use connecting pieces that match your raceway's color and style for a seamless look.
The best wire hiding techniques use cabinet spaces. This makes installations look like they were there from the start. It's important to plan well to keep the cabinet strong and hide wires well.
Concealing wires inside cabinets gives better results than hiding them outside. Once the doors close, the wires are completely hidden. This method works best when done during the initial setup or big renovations.
Drilling the right spots in cabinet parts makes wire paths. Pick spots that don't weaken the cabinet. Cabinets made of solid wood are easier to work with than those made of engineered materials.
Choose hole sizes that fit the wire bundle well. Use sharp drill bits to avoid splinters. Place backing boards behind holes to prevent damage.
These wire hiding techniques need you to know how cabinets are made. Be careful around areas that hold weight to keep the cabinet strong. Mark where you'll drill before you start to make sure the wires go where they should.
The space behind cabinet rear panels and walls is great for hiding wires. This is perfect for cabinets that have gaps behind them. Most kitchens have this space for pipes and wires.
Make sure wires are secure to avoid noise or damage. Use cable clips or staples to keep wires in place. Be careful not to mess with pipes, wires, or HVAC systems nearby.
Using this method keeps things easy for future changes. Keep wires away from sharp edges or hardware that could damage them over time.
Cabinets have many mounting points that can hide wires. Hinge screw holes, shelf support holes, and drawer slide points are great for this. It means you don't have to make big changes to the cabinet.
Make sure wire paths don't mess with how the cabinet works. Keep electrical clearances right around moving parts. Use wire protection where cabinet parts might damage wires.
| Cabinet Location | Wire Capacity | Installation Difficulty | Concealment Level |
|---|---|---|---|
| Frame drilling | Multiple circuits | Moderate | Complete |
| Behind cabinet backs | High capacity | Easy | Excellent |
| Hardware holes | Single circuits | Easy | Very good |
| Shelf channels | Medium capacity | Moderate | Complete |
These advanced wire hiding techniques give professional-looking results. They improve both function and looks. Done right, these installations last a long time and keep the cabinet looking good.
Professional wire hiding techniques turn simple under cabinet lighting into a seamless system. These methods need special tools and skills. But, they offer results that look like they were made in a factory.
These advanced techniques make installations look like they're part of the cabinet. They go beyond just sticking wires on the surface. This makes the wiring part of the cabinet itself. The effort pays off with better looks and more value for your home.
Router tools are the best for making channels in cabinets. Trim routers are great for small, detailed work. Full-size routers are better for bigger jobs.
The right bit makes a big difference in how the channel looks. Spiral bits give the smoothest cuts in wood. Straight and roundover bits are good for different looks.
Using templates ensures your channels look the same everywhere. They keep the router steady and the channels the right depth. This keeps the look consistent and the cabinet safe.
Recessed systems hide wires in the cabinet. They work for different types of wires, like lighting and control wires. You need to plan for easy access later.

Choosing the right junction box is key. It should be easy to get to for maintenance but hidden when not in use. The box needs to fit all the wires without being too crowded.
Modifying the cabinet for recessed systems needs careful planning. You have to make sure the cabinet stays strong while adding openings for wires. Getting help from a pro might be a good idea for big changes.
Using crown molding to hide wires adds a fancy touch. It's perfect for traditional kitchens. But, you have to plan carefully to keep the molding strong.
Custom millwork might be needed for special wire needs. Standard molding often doesn't have enough room. Custom profiles keep the look right while protecting the wires.
When installing, think about how the wood might move. Use the right fasteners to keep the molding tight. The finish you choose affects how long it looks good.
| Technique | Skill Level Required | Tools Needed | Best Applications |
|---|---|---|---|
| Router Channels | Intermediate to Advanced | Router, bits, templates | Face frame cabinets |
| Recessed Systems | Advanced | Specialized cutting tools | New construction |
| Crown Molding | Intermediate | Miter saw, router | Traditional kitchens |
| Custom Millwork | Professional | Shop equipment | High-end installations |
Connecting your hidden wiring to power sources needs precision and follows safety standards. This step turns your hidden wire into a working lighting system. Doing it right ensures it works well and looks clean.
When making power connections, you must follow local electrical codes and safety rules. Each connection point is a spot where things can go wrong if not done right. Knowing the different ways to connect helps you pick the best one for your project.
Hardwired setups are the most reliable for under cabinet lights. You need to run dedicated circuits from your electrical panel to the lights. Most setups use 15-amp or 20-amp circuits based on how much light you need.
Installing circuits usually needs permits and a professional electrician. The electrician will figure out the right wire size based on distance and load. Voltage drop calculations are key for long wires to make sure they get enough power.
New circuit breakers must fit your panel and local codes. The electrician will run the wiring through walls and connect it to your hidden wiring system. This method avoids using extension cords and gives a permanent power solution.
Hidden outlet systems are flexible and keep things looking clean. They're good when you can't or don't want to hardwire. Placing outlets in strategic spots keeps them hidden when not in use.
Depending on where the outlets are and how wet it gets, you might need GFCI protection. In kitchens, GFCI outlets are often needed near sinks. Your electrician will check if you need one based on local rules.
Mounting outlets needs to be secure and fit your wire management needs. Think about how you'll get to the outlets in the future. Extension cord management is also key to keep things safe and avoid overheating.
Junction boxes are where you connect and splice wires. They need to be the right size to fit all connections and let heat out. Metal boxes are better in kitchens because they last longer.
How you splice wires depends on the type of wire and where it's going. Mechanical connectors are often better than wire nuts in places that vibrate a lot. All connections should be easy to get to for future checks and repairs.
Labeling connections helps when you need to find or fix them later. Use labels that won't fade over time. Keep wires organized in junction boxes to avoid damage and keep things looking professional.
Getting professional-looking wire concealment means solving common problems early. Even pros face issues that need quick fixes and smart solutions. Knowing these problems and how to solve them saves time and ensures great results.
The table below shows common wire concealment problems and how to fix them:
| Common Issue | Primary Cause | Recommended Solution | Prevention Method |
|---|---|---|---|
| Uneven cabinet surfaces | Cabinet settling or construction variations | Use flexible raceways with shimming | Pre-installation surface assessment |
| Excess wire length | Inaccurate measurements or route changes | Create service loops in hidden areas | Add 10% extra length during planning |
| Loose wire sections | Inadequate securing or adhesive failure | Add mechanical fasteners at stress points | Use quality adhesives with proper prep |
| Visible wire gaps | Poor raceway alignment or sizing | Install transition pieces or covers | Measure carefully before cutting |
Uneven surfaces are a big challenge for wire raceway systems. Cabinets settle and construction methods vary, affecting mounting. Flexible raceway systems work better than rigid ones.
Shimming helps with small surface issues. Use thin materials like cardboard or plastic to level surfaces. For big problems, you might need to adjust or remove material.
Managing wire length is key. You need enough for connections but not too much. Field conditions often mean you need to adjust plans. Coiling wire helps manage extra length and keeps things neat.
Service loops make maintenance easier. Put them in hidden spots. Avoid tight coils that damage wire insulation or make connections hard.
Fixing installation problems starts with finding the cause. Adhesive failures often come from bad prep or weather. Using mechanical fasteners is more reliable than adhesives.
Wire movement can cause noise and visible wires. Secure wires well to prevent this. Regular checks keep your system working well over time.
Hiding under cabinet lighting wires makes kitchen upgrades look great. This guide covers methods for all budgets and skill levels. For beginners, adhesive raceways are a quick fix. For pros, advanced routing creates seamless looks that match factory work.
Planning is key in any lighting installation. Measure your cabinets, know your electrical needs, and pick the right hiding method. Remember, safety and proper connections are just as important as looks.
Surface-mounted systems are flexible and easy to maintain. Integrated channels offer top-notch results that match your cabinet design. Both can give you professional-looking results if done right.
Investing in good wire concealment pays off in the long run. Clean installations stay that way for years. They also make future changes easy without showing messy wires.
Success comes from choosing the right hiding method for your cabinets and style. Whether it's basic raceways or custom channels, focus on detail. The methods here help you create smooth lighting systems that improve both function and looks.
Adhesive wire raceways are great for beginners. They need no tools, no cabinet damage, and are easy to install. Just clean the cabinet, measure and cut the raceway, and press it on.
This method works well for most LED lights and puck lights.
Hire a pro if you need new circuits or hardwired systems. But, for plug-in LED systems and raceways, you can do it yourself. Always check local codes and get permits first.
Yes, you can run wires safely through cabinets. Drill holes carefully and use the right drill bits. Solid wood cabinets are easier to work with than others.
Always avoid drilling in load-bearing areas and use backing boards to prevent splintering.
You'll need drill bits, measuring tape, level, and safety glasses. For raceways, a hacksaw or miter saw is needed. Advanced jobs might require a router.
Don't forget work gloves and circuit breakers for safety.
Hardwired systems are permanent and hide wires well but need an electrician. Plug-in systems are flexible but harder to hide cords and transformers. Think about your skills, budget, and future changes.
Use shimming to level uneven surfaces. Flexible raceways work better with uneven surfaces. For big issues, you might need to remove or add material.
Plan ahead to avoid wire length problems. Use coiling to keep wire organized. Make service loops for easy maintenance and keep wire hidden.
Avoid tight coils and plan for obstacles during installation.
Yes, local codes cover wire routing, connections, and safety. The National Electrical Code sets standards, but local codes may add more rules. Check local codes before starting.
Many raceways can be painted to match cabinets. Clean the surface, use the right primer and paint, and follow the manufacturer's advice. Some raceways come in colors that match cabinets.
Low-voltage systems use smaller wires and need special connectors. They include transformers that must be hidden. Line-voltage systems need stronger concealment and follow stricter codes. Choose the right system for your needs.
Share:
How to Hang a Wall Cabinet Without Studs - DIY Guide
How to Lock a Cabinet: A Complete Security Guide